Table of Contents
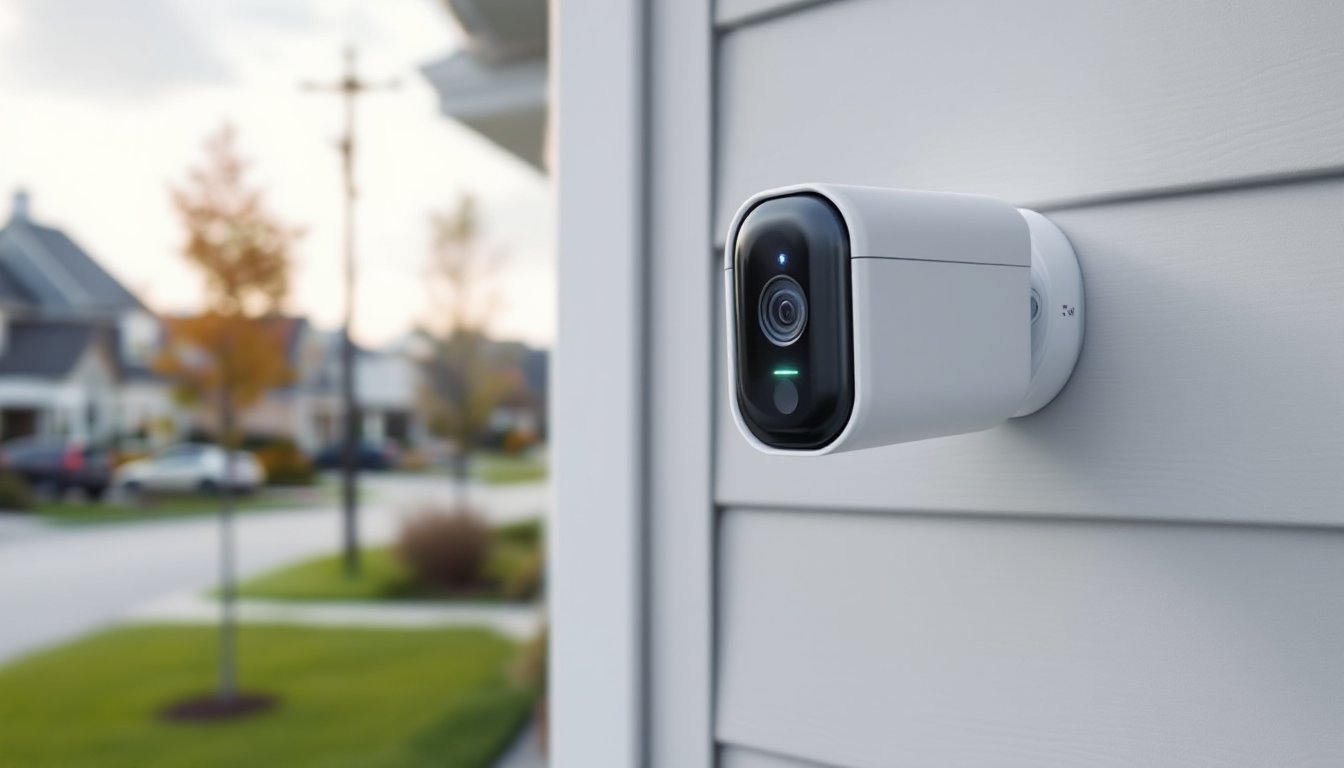
ToggleBlack security cameras have quietly become the go-to choice for homeowners who want robust protection without broadcasting surveillance equipment. Unlike their white counterparts, black cameras blend into shadowed eaves, dark soffits, and architectural trim, making them less conspicuous to potential intruders while delivering the same crisp footage and smart features. Whether you’re securing a front porch, monitoring a detached garage, or keeping an eye on backyard access points, choosing the right camera in the right finish matters. This guide walks through why black security cameras work, what types fit different needs, and how to install them without hiring a crew.
Key Takeaways
- Black security cameras blend into dark exterior elements like eaves and trim, making them less conspicuous to intruders while maintaining the same protective capabilities as other finishes.
- Black housings resist visible dust and streaks better than white cameras and are harder to spot in low-light conditions, providing both practical and security advantages.
- Select the right camera type—bullet for driveways, dome for covered areas, turret for flexible angles, or wire-free for easy installation—based on your specific monitoring needs and mounting surfaces.
- Mount cameras 7–9 feet high with a downward angle to capture faces and upper bodies, and position them to avoid backlighting from the sun or streetlights.
- Prioritize essential features like 1080p minimum resolution, IR night vision, IP65+ weather resistance, and proper field of view over advanced gimmicks for reliable performance.
- With proper planning, basic tools, and attention to cable routing and weatherproofing, most homeowners can install black security cameras themselves without hiring professional help.
Why Black Security Cameras Are the Smart Choice for Homeowners
Black finishes offer practical advantages beyond aesthetics. They resist visible dust and pollen better than white housings, which show streaks and grime after a few weeks outdoors. In regions with heavy tree cover or urban soot, black cameras stay cleaner-looking longer, reducing maintenance trips up a ladder.
From a security standpoint, black cameras are harder to spot in low-light conditions. Intruders scanning a roofline or garage wall are less likely to notice a camera mounted against dark trim or nestled under black soffit vents. This doesn’t make them invisible, but it buys time, enough for the camera to capture clear footage before someone realizes they’re being recorded.
Aesthetic Advantages of Black Security Cameras
Black cameras integrate seamlessly with most exterior finishes. They pair naturally with dark window frames, wrought iron railings, black gutters, and charcoal-painted siding. On brick homes, they disappear into mortar shadows. On modern farmhouse or industrial-style builds with matte black hardware, they look intentional rather than tacked on.
White cameras, by contrast, stand out on nearly every surface except white vinyl siding. That visibility can deter some trespassers, but it also invites tampering. A camera that blends in is harder to disable or redirect. For homeowners prioritizing curb appeal alongside security, black housings offer the best compromise between function and design.
Types of Black Security Cameras for Every Home Security Need
Security cameras come in several form factors, each suited to different mounting scenarios and coverage needs.
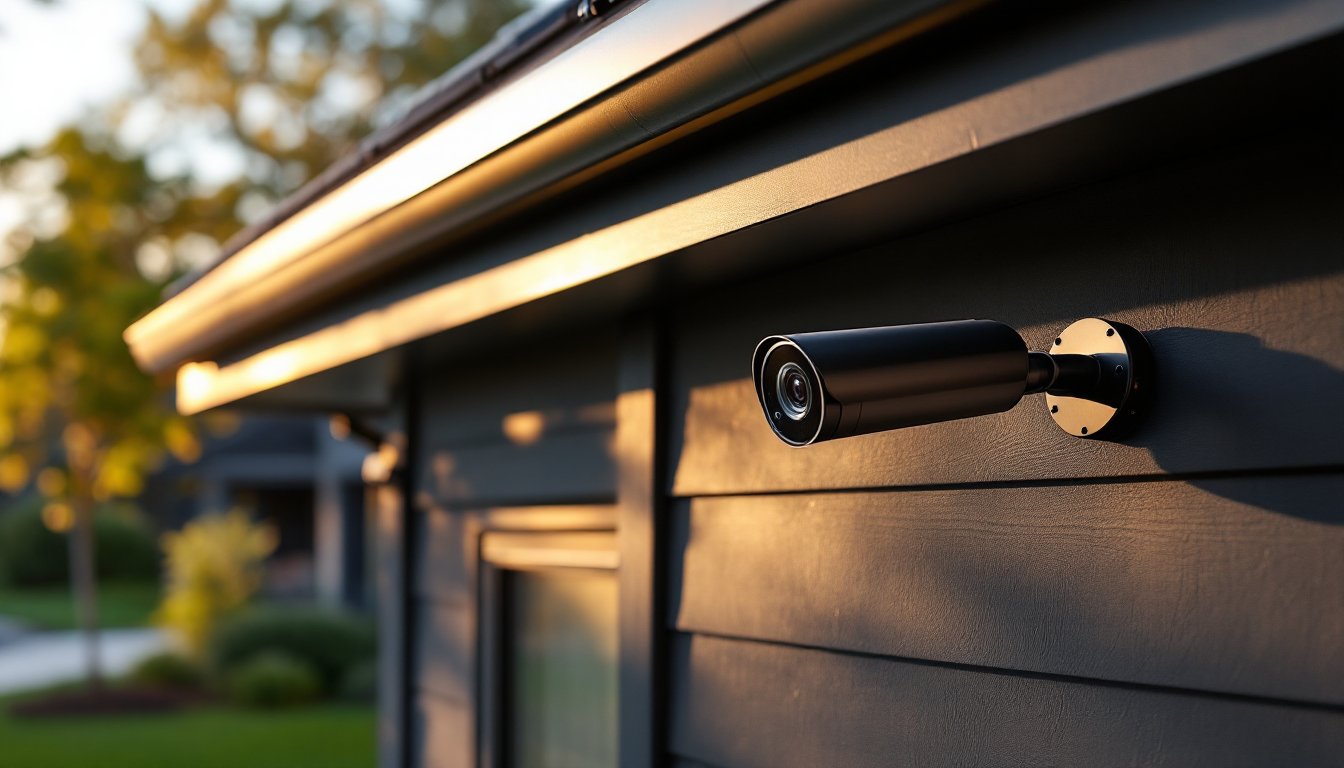
Bullet cameras are cylindrical, weatherproof units designed for long-range viewing. They’re ideal for driveways, side yards, or property perimeters where you need a narrow, focused field of view. Most bullet cameras include an adjustable mount bracket and an infrared (IR) LED array for night vision. Expect a typical range of 30 to 100 feet, depending on the lens.
Dome cameras feature a hemispherical housing, often vandal-resistant. They’re harder to tell which direction they’re pointing, which can be a psychological deterrent. Dome models work well under eaves, inside covered porches, or near entryways where aesthetics matter. The curved housing sheds rain and snow better than flat surfaces.
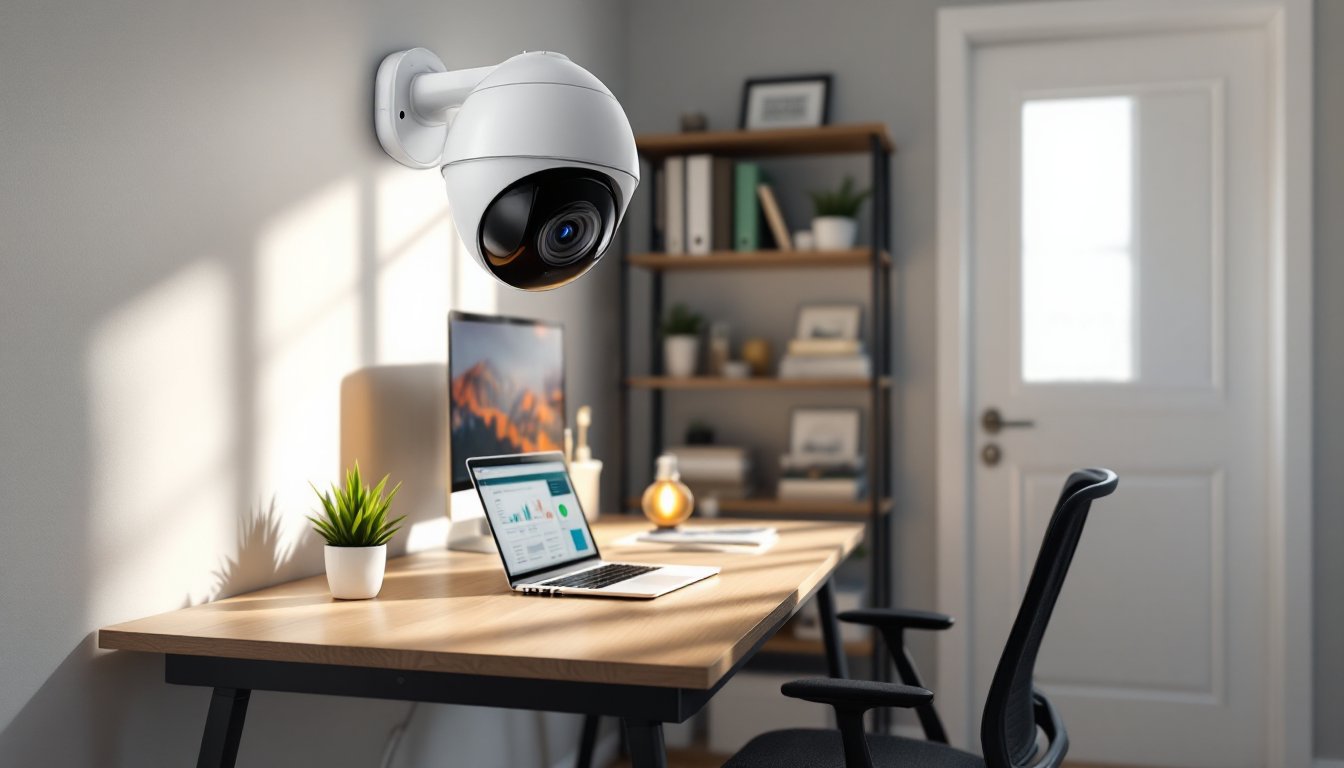
Turret cameras (also called eyeball cameras) split the difference: a dome-style base with a ball-and-socket camera head you can swivel and aim after installation. They’re easier to adjust than fixed bullet cams and less bulky than full domes. Turrets are a solid pick for corners or multi-angle coverage zones.
PTZ (pan-tilt-zoom) cameras offer motorized control, letting users remotely adjust the viewing angle and zoom in on activity. These are overkill for most residential installs, but they’re worth considering if you’re covering a large yard, long driveway, or property with multiple access points. PTZ models typically require PoE (Power over Ethernet) and more complex wiring.
Wire-free cameras run on rechargeable batteries and connect via Wi-Fi. They’re the easiest to install, no running cable through walls, but battery life varies widely (two weeks to six months) depending on motion frequency and temperature. Black wire-free models are popular for rental properties or temporary monitoring setups.
Key Features to Look for When Choosing a Black Security Camera
Resolution matters. Look for at least 1080p (Full HD) if you need to identify faces or license plates. 4K models provide sharper detail but require more storage and bandwidth. For most residential uses, 2K (1440p) hits the sweet spot between clarity and file size.
Night vision is non-negotiable for outdoor cameras. IR LEDs provide black-and-white footage in total darkness, typically up to 30–100 feet. Some newer models include color night vision using ambient light or built-in spotlights, which can help with vehicle or clothing identification.
Weather resistance is rated by IP (Ingress Protection) codes. An IP65 rating means the camera is dust-tight and can handle low-pressure water jets (rain). IP67 adds protection against temporary immersion, useful in areas with heavy snow melt or flooding. Avoid anything below IP65 for exterior use.
Field of view (FOV) determines coverage width. A 90° FOV works for most doorways and garage approaches. 110°–130° lenses cover wider areas like patios or yards, but objects at the edges may appear distorted. Check manufacturer specs, some cameras let you digitally pan within a wide-angle frame.
Two-way audio allows communication through the camera’s built-in speaker and mic. It’s handy for greeting delivery drivers or deterring package thieves, but audio quality varies. Test it before relying on it for security alerts.
Local vs. cloud storage: Cameras with microSD card slots store footage on-site, avoiding monthly subscription fees. Cloud storage offers remote access and redundancy if the camera is stolen, but costs add up. Some systems support both, use local for continuous recording and cloud for motion-triggered clips.
Many outdoor security cameras now include AI-powered person detection, reducing false alerts from passing cars or animals.
Best Placement Strategies for Black Security Cameras
Camera placement determines whether you capture useful footage or just a blurry corner of your yard. Start with entry points: front door, back door, side gates, and garage doors. These are the most common breach points and should have dedicated coverage.
Mount cameras 7–9 feet off the ground. This height keeps them out of easy reach while providing a downward angle that captures faces and upper bodies. Mounting too high (10+ feet) results in top-of-head shots that won’t help identify anyone.
Avoid backlighting. Don’t aim cameras directly at the sun, streetlights, or bright windows. The exposure will blow out, leaving people as dark silhouettes. Position cameras so light sources are behind or to the side of the lens.
For driveways and walkways, mount cameras at an angle to capture someone approaching, not just walking past. A side-angle view gives more frames of a person’s face than a head-on or rear shot.
Overlap coverage zones when possible. If two cameras can partially see the same area, you have backup footage if one camera fails or gets obscured. Focus one camera wide for context and another tight on critical zones like door handles or keypad entries.
Check Wi-Fi signal strength before finalizing placement. Cameras mounted far from the router or behind thick masonry may drop connection. Use a phone app to test signal at each proposed location. If signal is weak, consider adding a Wi-Fi extender or switching to a wired PoE system.
Several top-rated outdoor models offer flexible mounting options that simplify installation on challenging surfaces like stucco or fiber cement.
DIY Installation Tips for Black Security Cameras
Safety first: Use a stable ladder with a spotter if mounting above 8 feet. Wear safety goggles when drilling into masonry or wood, and use work gloves to protect hands from sharp edges on mounting brackets.
Tools and Materials You’ll Need
- Drill/driver with masonry bits (for brick, stucco, or concrete) or standard twist bits (for wood siding)
- Stud finder (for mounting to wall studs or rafters)
- Wire fish tape or rods (if running cable through walls or attic)
- Silicone caulk (exterior-grade, to seal cable entry points)
- Cable staples or clips (to secure wiring along soffits or trim)
- Voltage tester (if tapping into existing electrical for powered cameras)
- Mounting hardware (usually included: anchors, screws, brackets)
Step-by-Step Installation
-
Plan your cable runs. For wired cameras, determine the shortest path from camera to recorder (NVR/DVR) or router (for PoE). Avoid running cable across open wall sections where it’s visible. Use existing conduit, attic space, or crawl under siding where possible.
-
Mark mounting holes. Hold the camera bracket in place and level it. Mark screw locations with a pencil. For masonry, use a level and mark carefully, concrete anchors don’t forgive misalignment.
-
Drill pilot holes. Use a bit slightly smaller than your screw diameter for wood. For brick or concrete, use a masonry bit sized to match your anchors (typically 3/16″ or 1/4″). Drill slowly to avoid cracking.
-
Install anchors (if needed). Tap plastic or metal anchors into masonry holes until flush with the surface. For wood, you can usually drive screws directly into studs or solid blocking.
-
Mount the bracket and attach the camera. Tighten screws snugly but don’t overtighten, you can strip soft plastic anchors or crack brittle siding. Attach the camera to the bracket per manufacturer instructions, usually a twist-lock or set screw.
-
Run and secure cables. Feed Ethernet or power cables through the bracket’s cable channel. Use cable staples every 12–18 inches along horizontal runs to prevent sagging. Leave a small service loop (6–12 inches of slack) near the camera for future adjustments.
-
Seal entry points. Apply a bead of exterior-grade silicone caulk around any holes where cables enter walls or eaves. This prevents water infiltration and pest entry. Smooth the bead with a wet finger for a clean finish.
-
Power on and aim the camera. Connect cables to your NVR, PoE switch, or power adapter. Use the camera’s app or web interface to check the live view. Adjust the angle to frame your target area, then tighten lock screws on the bracket.
Wiring Notes
For PoE cameras, a single Ethernet cable carries both data and power (up to 100 meters/328 feet). You’ll need a PoE switch or injector. This is the cleanest install for multi-camera setups.
Wireless cameras still need power unless they’re battery-operated. Plan for a nearby outlet or run low-voltage wire to a transformer. Battery models simplify install but require seasonal recharging.
If you’re tapping into household AC for a powered camera, follow NEC (National Electrical Code) requirements: use proper junction boxes, wire nuts, and GFCI protection for outdoor outlets. If you’re not comfortable with electrical work, hire a licensed electrician for this portion.
Avoiding Common Mistakes
- Don’t skip the test fit. Mount the bracket loosely and check the camera’s field of view before driving all screws home. Repositioning after caulking is messy.
- Don’t over-rely on Wi-Fi. If your camera keeps dropping connection, consider running Ethernet or adding a mesh node outdoors.
- Don’t forget firmware updates. Many security cameras with advanced features ship with outdated software. Update before permanent installation to avoid compatibility issues.
Conclusion
Black security cameras deliver the dual benefit of discreet monitoring and design flexibility, fitting a wider range of home exteriors than bright white models. Choosing the right type, bullet, dome, turret, or wire-free, depends on coverage needs, mounting surfaces, and whether you’re willing to run cable. Prioritize features like resolution, night vision, and weatherproofing over gimmicks, and take time to plan placement for maximum coverage. With the right tools and attention to detail, most homeowners can handle installation without professional help, keeping both intruders and installation costs in check.