Table of Contents
ToggleMost homeowners don’t realize that the “affordable” security camera they just installed comes with a monthly fee that’ll cost more than the hardware within two years. Subscription-based cloud storage sounds convenient until the bills stack up, especially if someone wants true continuous recording, not just motion clips. The good news? Plenty of quality cameras now offer 24/7 recording with local storage and zero ongoing fees. This guide walks through what to look for, how storage options compare, and what it takes to install a subscription-free system that actually delivers round-the-clock surveillance without bleeding the household budget dry.
Key Takeaways
- Continuous recording security camera systems without subscription fees can save $1,800–$5,400 over five years compared to cloud-based alternatives that cost $10–30 per camera monthly.
- Local storage options like SD cards and NVR systems offer full data control and eliminate dependency on third-party cloud servers, making them ideal for privacy-conscious homeowners.
- H.265 compression and surveillance-grade storage media (microSD cards rated Class 10+ and enterprise HDDs like Western Digital Purple) are essential for reliable 24/7 continuous recording without storage overload.
- Continuous recording eliminates motion-detection blind spots and cool-down delays, capturing complete incident timelines that motion-activated cameras miss.
- DIY installation requires proper planning—8-10 foot camera placement, sealed cabling runs, and climate-controlled NVR placement—but avoids complex subscriptions and maintains homeowner autonomy.
- IP cameras with PoE (Power over Ethernet) and ONVIF compliance future-proof continuous recording setups by enabling flexible integrations and avoiding proprietary ecosystem lock-in.
Why Choose Continuous Recording Over Motion-Activated Security Cameras
Motion-activated cameras miss events. A car backing into a mailbox, a package thief casing the block before approaching, or an animal triggering false alerts while a break-in happens off-angle, these scenarios all expose the gaps in motion-only recording. Continuous recording captures everything, creating an unbroken timeline that’s invaluable when reconstructing incidents or providing footage to law enforcement.
The trade-off is storage. Continuous recording devours disk space, a single 1080p camera running 24/7 can fill 100-150 GB per week depending on compression settings. That’s why subscription services push motion-only plans: they reduce cloud storage costs on their end. But for homeowners willing to manage local storage, continuous recording offers superior coverage without the algorithmic filtering that motion detection relies on.
Another advantage: no cool-down periods. Many motion-activated cameras impose a 30-60 second delay between clips to save bandwidth and battery. If an intruder moves quickly or an incident unfolds in stages, those gaps create blind spots. Continuous recording eliminates that risk entirely, though it does require wired power or robust solar setups, battery-powered cameras can’t sustain true 24/7 operation.
How Subscription-Free Security Cameras Save You Money Long-Term
A typical cloud subscription for continuous recording runs $10-30 per camera per month. For a modest three-camera setup, that’s $360-$1,080 annually, often more than the cameras themselves cost. Over five years, subscription fees can exceed $1,800 to $5,400, turning a one-time hardware purchase into an ongoing expense that rivals a car payment.
Subscription-free systems flip that model. An upfront investment in cameras with SD card slots or an NVR (Network Video Recorder) might cost $300-$800 depending on camera count and resolution, but the only recurring cost is occasional storage media replacement. A quality 256 GB microSD card runs about $30 and lasts 2-3 years under continuous write cycles: enterprise-grade cards rated for surveillance extend that lifespan.
Beyond the math, there’s control. Subscription models often lock footage behind proprietary apps and cloud servers. If the company folds, pivots to a new pricing structure, or suffers a data breach, users lose access or face privacy risks. Local storage keeps footage on hardware the homeowner owns, with no third-party access unless they choose to share it. For many DIYers, that autonomy justifies the slightly higher upfront cost and hands-on management.
Storage Options for Continuous Recording: Local vs. Cloud
Choosing the right storage setup depends on camera count, retention needs, and technical comfort. Local storage dominates the subscription-free space, but the format varies.
SD Card and MicroSD Storage Solutions
MicroSD cards inserted directly into the camera offer the simplest no-subscription option. Most cameras support 64-256 GB, providing roughly 3-14 days of continuous 1080p footage depending on bitrate and compression (H.264 vs. H.265). Once the card fills, the camera overwrites the oldest files, a process called loop recording.
Key specs matter. Use cards rated Class 10 or UHS-I minimum for sustained write speeds: cheaper cards fail under constant recording, corrupting footage at the worst possible moment. Brands like SanDisk High Endurance and Samsung PRO Endurance are purpose-built for surveillance, with wear-leveling that extends lifespan. Budget $30-60 per card.
Downside: if someone steals the camera, the footage goes with it. For higher-stakes security, mount cameras out of reach or pair SD storage with an NVR for redundancy. Also, managing footage from multiple cameras means pulling cards individually or using apps that support remote playback, convenient but dependent on network stability.
NVR and DVR Systems for Multi-Camera Setups
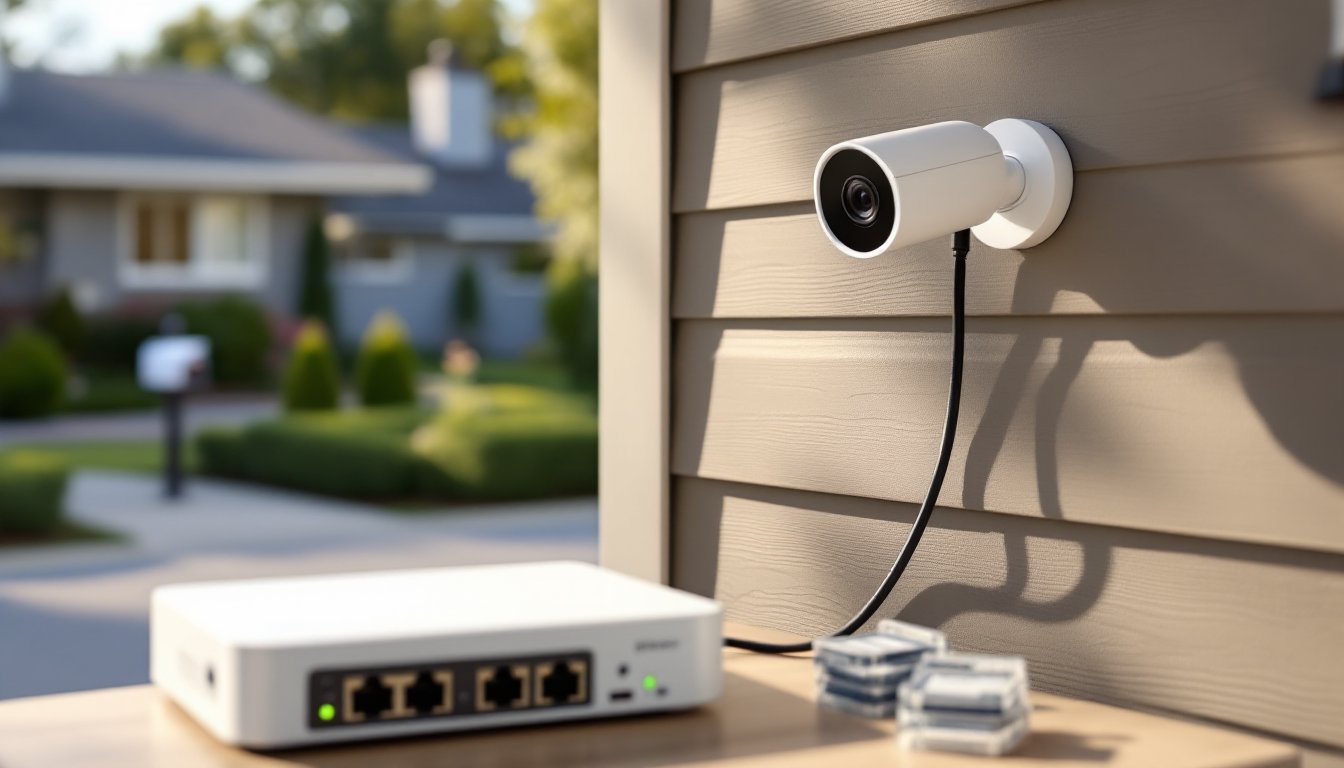
For 4+ cameras, an NVR (Network Video Recorder) or DVR (Digital Video Recorder) centralizes storage and simplifies management. NVRs work with IP cameras over Ethernet (often via PoE, Power over Ethernet, which delivers data and power through a single cable), while DVRs use coaxial cables with analog cameras. Most DIYers lean toward NVRs: IP cameras offer better resolution and flexibility.
A typical 4-channel NVR with a 2 TB hard drive costs $200-400 and stores 2-4 weeks of continuous 1080p footage from four cameras. Expansion is straightforward: swap in a larger HDD (up to 8-10 TB on most consumer models) for extended retention. Use drives rated for surveillance, like Western Digital Purple or Seagate SkyHawk, they’re designed for 24/7 operation and handle the constant read/write cycles that desktop drives can’t sustain.
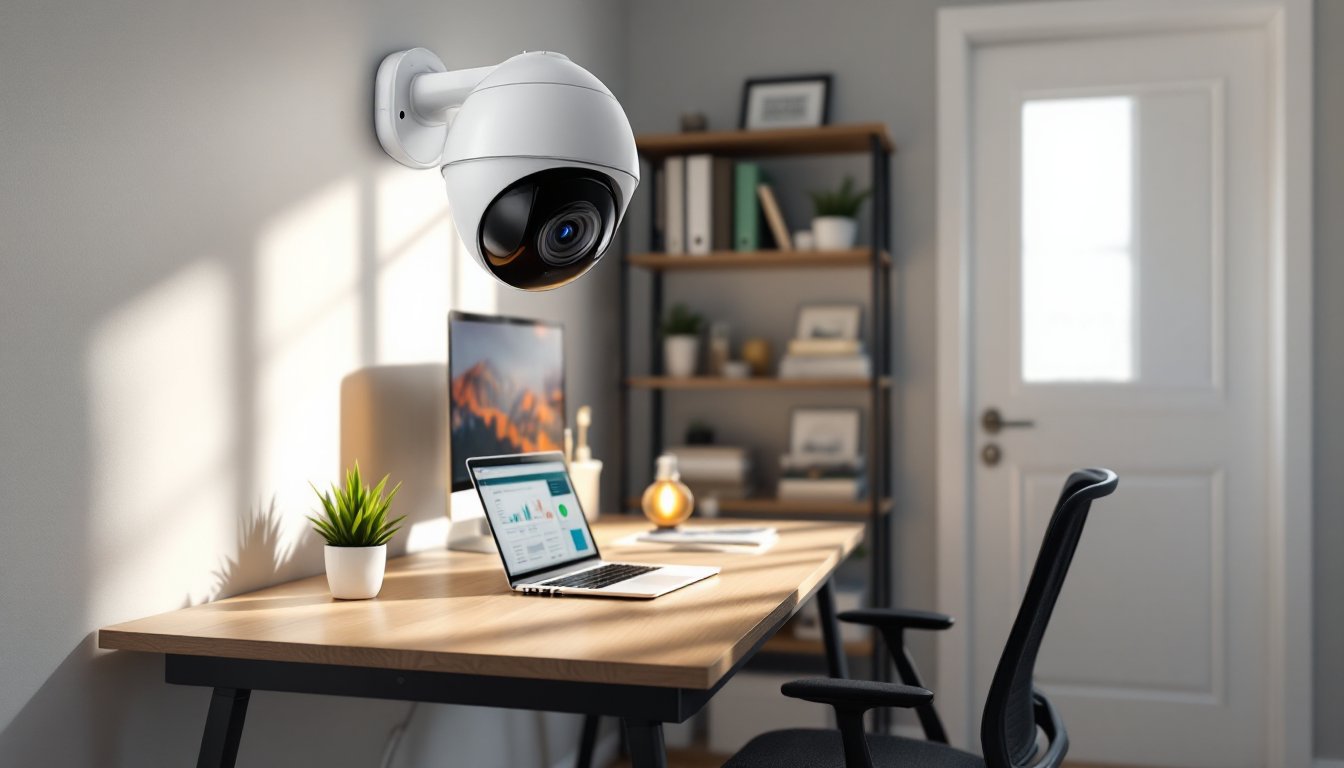
Installation requires basic networking. Connect cameras to the NVR’s PoE ports, plug the NVR into the router, and configure settings via a browser or mobile app. No monthly fees, no cloud dependencies. If internet goes down, recording continues locally. The main trade-off is upfront complexity and the need for a dedicated spot to rack the NVR, garage, basement, or a ventilated closet work well. Comparing models helps narrow options based on channel count and storage capacity.
Top Features to Look for in a No-Subscription Continuous Recording Camera
Not all “subscription-free” cameras are created equal. Some lock advanced features behind paywalls even though offering local storage. Here’s what matters:
Resolution and compression: 1080p is the baseline: 2K or 4K improves detail for license plates and faces, but quadruples file sizes. H.265 compression (also called HEVC) cuts storage demands by 30-50% versus H.264 without sacrificing quality. If planning continuous recording, H.265 support is non-negotiable for efficient use of SD cards or NVR space.
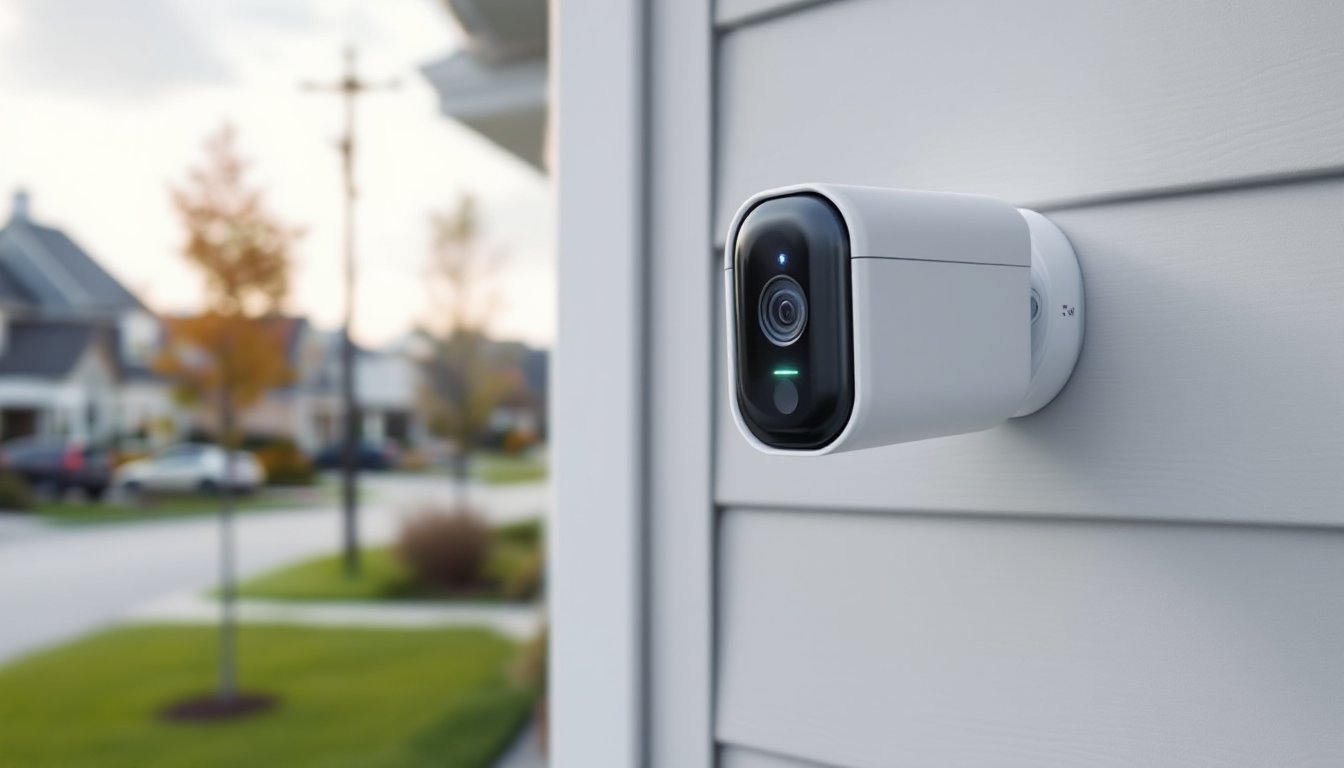
Power source: True continuous recording demands wired power, either PoE for IP cameras or standard AC adapters. Battery and solar-powered models claim “continuous” recording but throttle resolution or frame rates to conserve power, undermining the whole point. If running new wiring isn’t feasible, consider hybrid systems that record continuously when plugged in and switch to motion-only on battery backup during outages.
Night vision and weatherproofing: Outdoor cameras need IP65 or IP67 ratings minimum to handle rain, snow, and temperature swings. Infrared night vision is standard, but models with color night vision (using ambient light or built-in spotlights) capture more useful detail in low light. Range matters too, most IR systems work up to 30-50 feet: anything beyond that requires supplemental lighting.
Two-way audio and smart integrations: If the camera supports two-way talk, verify it works without a subscription. Some brands gate intercom features behind cloud plans. Similarly, check whether smart home integration (Google Assistant, Alexa, Home Assistant) functions fully offline. Reviews of no-fee models often flag which features require activation fees after purchase.
ONVIF compliance: Cameras supporting the ONVIF standard (Open Network Video Interface Forum) play nice with third-party NVRs and software, future-proofing the setup. Proprietary systems lock users into a single ecosystem, complicating upgrades or replacements down the line.
Installation Tips for DIY Homeowners
Installing continuous recording cameras isn’t complicated, but skipping prep steps causes headaches. Here’s the practical rundown:
Plan camera placement first. Walk the property and identify coverage zones, entry points, driveways, side gates, blind corners. Mount cameras 8-10 feet high to deter tampering while keeping faces in frame. Avoid aiming cameras directly at bright lights or reflective surfaces: glare washes out footage. For cameras with local storage, ensure Wi-Fi signal reaches outdoor locations if relying on wireless connectivity, though wired PoE is more reliable for continuous recording.
Run cabling before mounting hardware. For PoE cameras, drill a ¾-inch hole through the exterior wall near each camera location (seal with silicone caulk afterward), feed Cat5e or Cat6 Ethernet cable to the NVR, and label both ends. If running multiple lines, use conduit to protect cables from UV and physical damage. Outdoor-rated Cat6 direct burial cable works for underground runs between buildings. Always leave 12-18 inches of slack at each end for adjustments.
Secure the NVR and storage. Place the NVR in a climate-controlled space, not an attic or uninsulated garage where heat degrades hard drives. If using SD cards in cameras, set reminders to check card health every 6 months: many apps report storage errors, but proactive replacement beats discovering a dead card after an incident.
Configure overwrite settings and retention. Enable loop recording so cameras don’t stop when storage fills. Set retention based on local laws (some jurisdictions require 30-90 day retention for commercial use: residential is typically flexible). Adjust resolution and frame rates if storage fills too quickly, dropping from 30 fps to 15 fps halves file sizes with minimal impact on usability for most scenarios.
Test before finalizing mounts. Temporarily position cameras with tape or clamps, record test footage, and review it for coverage gaps and image quality. Once confirmed, use the provided mounting brackets and stainless steel screws (not the included anchors, they strip out in brick or fiber cement). Apply a bead of silicone around cable entry points to prevent water infiltration.
Safety note: Wear safety glasses when drilling overhead, and use a non-contact voltage tester if drilling near electrical outlets or fixtures. If the install requires running cable through walls with unknown wiring or plumbing, consider hiring an electrician for that portion, patching drywall is cheaper than repairing a punctured water line.
Continuous recording without subscription fees is entirely achievable for DIYers willing to handle storage and cabling. The upfront effort pays off in lower long-term costs, full data control, and surveillance that doesn’t depend on corporate cloud servers staying online.