Table of Contents
ToggleSecurity cameras aren’t just for businesses anymore. Homeowners are taking security into their own hands, and for good reason, modern camera systems have gotten cheaper, smarter, and a whole lot easier to install. Whether you’re worried about package thieves, keeping an eye on the kids, or just want to know who’s ringing the doorbell at 3 a.m., installing your own security camera system is a doable weekend project. This guide walks you through everything from choosing the right cameras to mounting them securely and avoiding the rookie mistakes that’ll have you climbing that ladder twice.
Key Takeaways
- Homes without security systems are 2.5 times more likely to be targeted by burglars, and security camera installations can reduce insurance costs by 5-20%.
- Choose between wired (PoE) systems for reliability and wireless cameras for faster installation, with 2K resolution offering the best balance of clarity and storage efficiency for most homes.
- Strategic placement at entry points (front/back doors, garage) covers 80% of break-ins, and overlap camera views slightly to eliminate blind spots where intruders could slip through undetected.
- Mount cameras at least 8 feet high, angle them downward at 15-30 degrees for facial recognition, and avoid direct sunlight and reflective surfaces that cause glare and washout.
- Always seal exterior cable entry points with outdoor-rated silicone sealant, test your Wi-Fi signal strength before drilling, and verify local codes and HOA restrictions before mounting security cameras on your property.
- Complete a full test run of each camera before final mounting and sealing, and upgrade cheap mounting hardware to stainless steel for outdoor installations to prevent rust and system failure.
Why Install Security Cameras at Your Home
The statistics tell part of the story: homes without security systems are 2.5 times more likely to be targeted by burglars. But deterrence is just one reason homeowners are installing cameras in record numbers.
Modern security cameras offer real-time monitoring from your phone, cloud storage for footage, and integration with smart home ecosystems like Alexa or Google Home. You can check whether the contractor showed up, see when the kids got home from school, or verify that the dog walker actually walked the dog. Many systems now include two-way audio, letting you talk to delivery drivers or tell solicitors you’re not interested without opening the door.
Insurance companies have caught on, too. Some providers offer discounts of 5-20% on homeowners’ insurance when you install a monitored security system. Check with your insurer before buying, some require professional monitoring, while others accept self-monitored DIY setups.
Beyond security, cameras add resale value. Prospective buyers increasingly expect smart home features, and a pre-installed camera system is one less thing they’ll need to budget for. Just make sure you’re upfront about whether you’re leaving the equipment or taking it with you.
Choosing the Right Security Camera System for Your Needs
Camera systems fall into two broad categories: wired (PoE) and wireless (Wi-Fi or battery). Wired systems use Power over Ethernet cables to deliver both power and data, offering reliable performance and no battery swaps. They’re ideal if you’re building new construction or don’t mind running cable through walls or attics. Wireless cameras run on batteries or plug into standard outlets and connect via Wi-Fi, making installation faster but requiring periodic recharging or battery replacement.
Resolution matters. 1080p (Full HD) is the baseline, anything less looks grainy when you zoom in on footage. 4K cameras offer better detail for identifying faces or license plates but require more storage space and bandwidth. For most homes, 2K (1440p) hits the sweet spot between clarity and file size.
Look for cameras with night vision (infrared LEDs are standard), motion detection with customizable zones to reduce false alerts from passing cars or swaying trees, and weather resistance rated IP65 or higher for outdoor use. If you live in a cold climate, verify the camera’s operating temperature range, some budget models fail below 32°F.
Storage options include cloud subscriptions (typically $3-10/month per camera), local storage on microSD cards or a network video recorder (NVR), or hybrid systems that offer both. Cloud storage is convenient but adds recurring costs: local storage puts you in control but won’t help if someone steals the recorder.
Indoor vs. Outdoor Camera Considerations
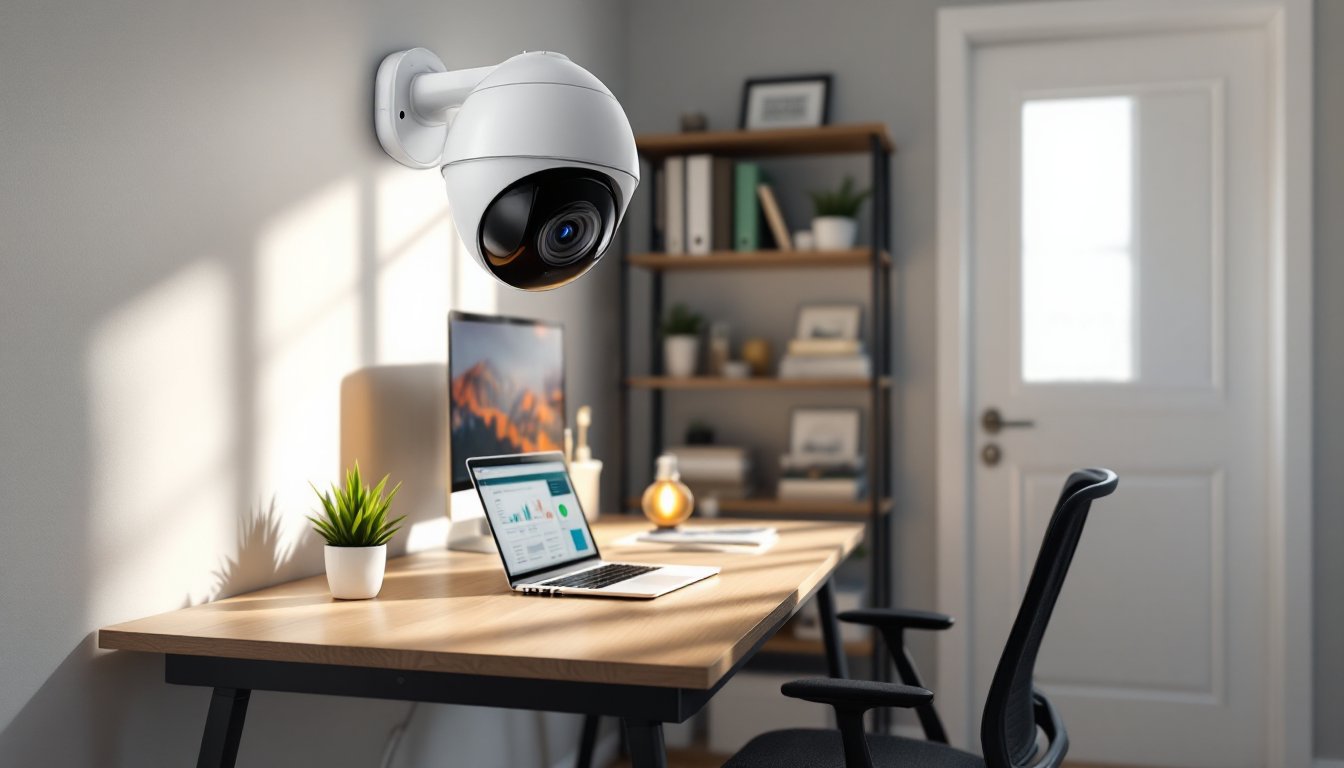
Indoor cameras can be compact and discreet since they don’t need weatherproofing. Privacy is the primary concern, place them in common areas like entryways and living rooms, not bedrooms or bathrooms. Some jurisdictions have laws about recording audio without consent, so check local regulations before enabling microphones.
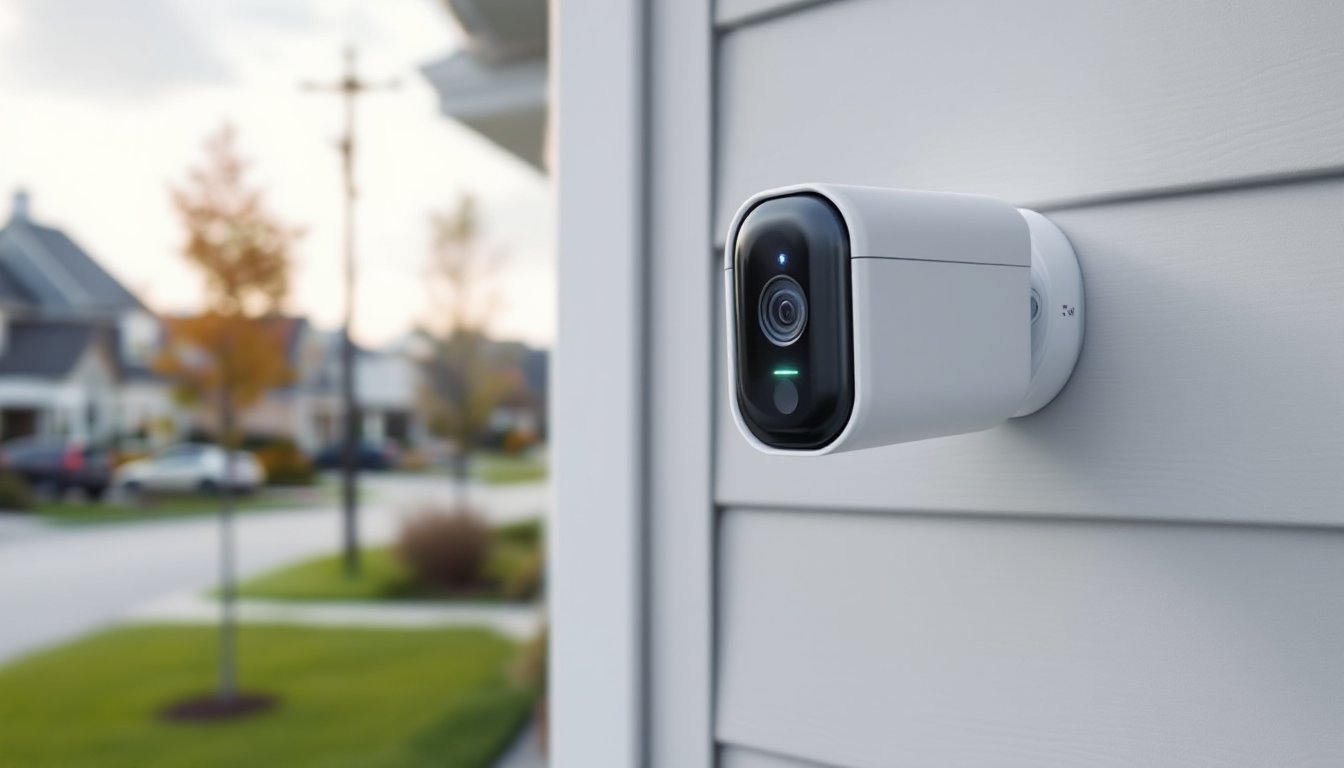
Outdoor cameras need rugged housings, wider temperature tolerances, and IP ratings that indicate dust and water resistance. IP65 handles rain and snow: IP67 can survive brief submersion. Mounting height matters, 8-10 feet is ideal to prevent tampering while keeping faces in frame. Aim cameras downward at a 15-30° angle for best facial recognition.
Wired outdoor cameras require drilling through exterior walls to route Ethernet cable, which may compromise insulation or siding warranties if done incorrectly. Use silicone sealant around cable entry points to prevent water intrusion. Wireless outdoor cameras simplify installation but may struggle with Wi-Fi range if mounted far from your router, consider a mesh Wi-Fi system or cameras with built-in range extenders.
Planning Your Security Camera Placement
Strategic placement does more for security than doubling your camera count. Start with entry points: front door, back door, and garage doors. These cover where 80% of break-ins occur. Add cameras at ground-floor windows that are hidden from street view, burglars prefer easy access without witnesses.
Overlap your camera views slightly so there are no blind spots where someone could slip through undetected. Draw a rough floor plan and sketch each camera’s field of view. Most cameras have a 90-130° viewing angle: check the spec sheet and use that to map coverage. Wide-angle lenses (130°+) cover more area but distort faces at the edges, fine for general monitoring, not ideal for identification.
Avoid pointing cameras directly at the sun or bright lights, which cause glare and washout. Test placement at different times of day before mounting permanently. For driveways and yards, consider where car headlights will shine at night, infrared night vision gets overwhelmed by direct light sources.
Power outlet locations dictate placement for plug-in cameras. If there’s no outlet near your ideal mounting spot, you’ll need either a wireless camera or to run an extension cord (outdoor-rated, preferably concealed in conduit). For wired cameras, plan your cable runs before drilling, going through an attic or crawlspace is cleaner than surface-mounting cable along siding.
Check local codes before installation. Some HOAs and municipalities restrict camera placement or require cameras not point into neighbors’ yards. Good practice: keep your cameras focused on your property and avoid capturing sidewalks or neighboring windows.
Step-by-Step Installation Process for DIY Setup
Tools you’ll need:
- Power drill with masonry and wood bits
- Screwdriver set
- Ladder (rated for your weight plus 25%)
- Stud finder (for indoor mounts)
- Level
- Pencil
- Cable clips or conduit (for wired systems)
- Silicone sealant
- Safety glasses and work gloves
Materials:
- Security cameras and mounting hardware (included with most kits)
- Screws and anchors (use the ones provided, or upgrade to stainless steel for outdoor use)
- Ethernet cable (Cat5e minimum, Cat6 preferred for future-proofing)
- Wire fish tape (if running cable through walls)
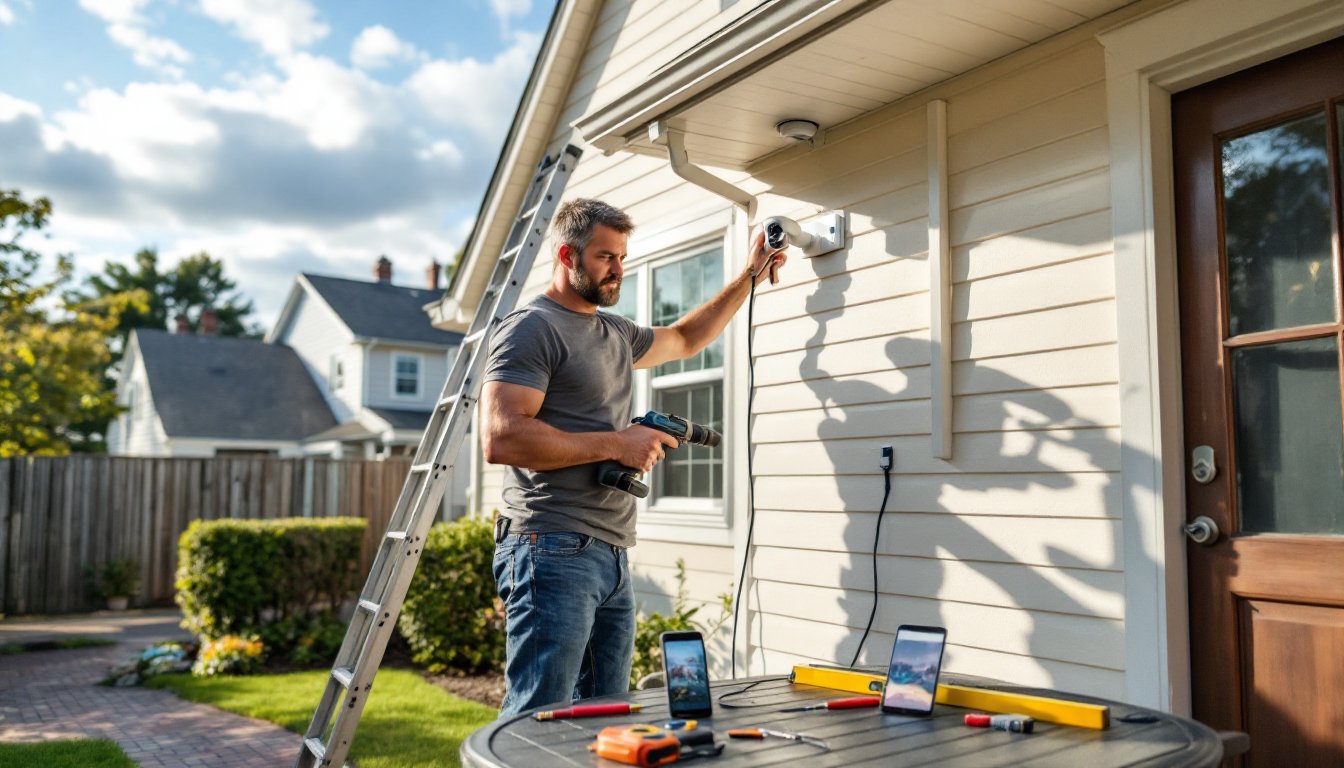
Step 1: Mount the bracket first, not the camera. Hold the bracket against the wall or soffit at your planned location and use a level to ensure it’s straight. Mark screw holes with a pencil.
Step 2: Drill pilot holes. For wood siding or soffits, use a bit slightly smaller than your screw diameter. For brick, stucco, or concrete, use a masonry bit and install plastic anchors before screwing in the bracket.
Step 3: Run cables before securing the camera. For wired systems, feed Ethernet cable from the camera location to your NVR or router. If going through an exterior wall, drill at a slight downward angle (outdoor to indoor) so water drains away from the hole. Thread cable through the bracket’s cable channel if available.
Step 4: Attach the camera to the bracket and connect cables. Most cameras snap or screw onto their brackets. Plug in Ethernet (for PoE) or power adapter (for wireless cameras that plug in). For battery cameras, ensure the battery is fully charged before mounting.
Step 5: Adjust the camera angle and tighten locking screws. View the live feed on your phone or monitor while adjusting. Aim for faces at the expected entry point, about 5-6 feet off the ground is average eye level.
Step 6: Seal any exterior penetrations with silicone sealant. Apply a generous bead around cable entry points and smooth it with your finger. Let it cure for 24 hours before exposing it to rain.
Step 7: Configure motion zones and notifications in the camera’s app. Start with conservative sensitivity settings and adjust based on real-world performance. Better to miss one alert than get 50 false alarms from leaves blowing by.
Wired vs. Wireless Installation Methods
Wired (PoE) installations require running Cat5e or Cat6 Ethernet cable from each camera to a central NVR or PoE switch. This delivers power and data over a single cable, eliminating the need for separate power supplies. The upside: rock-solid connections and no batteries to change. The downside: fishing cable through walls or attics takes time and sometimes requires cutting access holes in drywall.
If you’re not comfortable running cable, surface-mount it inside vinyl raceway or outdoor-rated conduit. It’s not as clean-looking as concealed cable, but it’s code-compliant and protects wires from UV damage and pests. Stapling cable directly to siding looks sloppy and risks damage from weed trimmers or weather.
Wireless installation is faster, mount the camera, connect to Wi-Fi, and you’re done. Battery-powered models like Ring or Arlo mount anywhere without worrying about power or cable runs. The tradeoff: you’ll climb that ladder every 2-6 months to swap or recharge batteries, depending on usage. Cold weather drains batteries faster, so expect more frequent changes in winter.
Wi-Fi cameras need a strong signal. If your camera location is more than 50 feet from the router or has to penetrate brick or metal siding, you’ll get dropouts. Run a Wi-Fi analyzer app on your phone at the camera location before committing. Mesh systems or outdoor Wi-Fi extenders solve most range issues, though they add cost.
For larger systems (6+ cameras), most professionals recommend wired for reliability and lower long-term costs. For 1-4 cameras around a typical suburban home, wireless works fine and keeps installation simple enough for a Saturday morning.
Common Installation Mistakes to Avoid
Mounting too low. Cameras within easy reach get spray-painted, knocked askew, or stolen. Keep them at least 8 feet high where possible. If you must mount lower, use tamper-resistant screws or housings.
Ignoring Wi-Fi range. Wireless cameras are only as good as their connection. A camera that drops offline every time someone uses the microwave isn’t providing security. Test signal strength before drilling holes.
Forgetting to weatherproof cable entries. Water follows cables. If you drill a hole through an exterior wall and don’t seal it, you’re inviting moisture into your wall cavity, which leads to mold and rot. Always use outdoor-rated silicone sealant.
Pointing cameras at reflective surfaces. Windows, car windshields, and glossy siding create glare that blinds the camera, especially at night when infrared LEDs reflect back into the lens. Angle cameras to avoid these surfaces.
Skipping a test run. Don’t fully install all your cameras, seal everything up, and then discover your NVR only recognizes half of them. Connect and test each camera individually before final mounting.
Using cheap mounting hardware outdoors. The screws that come with budget camera kits often rust within a year. Swap them for stainless steel screws if you’re mounting on brick, stucco, or anywhere exposed to weather. It’s a $5 upgrade that saves you from remounting cameras when the hardware fails.
Not considering bandwidth. Streaming multiple 4K cameras simultaneously can overwhelm your home internet, especially if you’re also working from home or streaming video. Most systems let you lower the resolution or frame rate for remote viewing to reduce bandwidth use, configure this before your household internet grinds to a halt.
Overlooking permits. In most jurisdictions, mounting cameras on your own single-family home doesn’t require a permit. But if you’re running low-voltage wiring as part of a larger system, or if you’re in a historic district or condo with special rules, check with your local building department. A five-minute phone call beats a citation.
Finally, don’t skip the manual. Every camera system has quirks, specific app settings, firmware updates, or compatibility requirements. Spending 15 minutes reading the documentation saves hours of troubleshooting when things don’t work as expected. Professional installers from services like HomeAdvisor can handle complex setups if you hit a wall, but most DIY installs succeed when homeowners plan thoroughly and follow instructions.
Security camera installation isn’t rocket science, but it rewards careful planning and attention to detail. Take your time with placement, invest in quality mounting hardware, and test everything before calling the job done. Your home’s security, and your peace of mind, depends on it.