Table of Contents
ToggleA security camera isn’t much use if it can’t prove what happened yesterday, or last Tuesday at 2:47 AM. That’s where the recorder comes in. It’s the brains and memory of any surveillance setup, storing footage so you’ve got evidence when you need it. Whether someone’s swiping packages off the porch or you just want to see which neighborhood cat keeps setting off the motion light, a recorder ensures you can review what your cameras saw. But not all recorders are built the same, and picking the wrong one means dealing with choppy playback, lost footage, or a system that won’t scale when you add more cameras.
Key Takeaways
- Security camera recorders store and centralize footage from multiple cameras, eliminating the need for expensive cloud subscriptions and ensuring data remains under your control even during internet outages.
- DVR systems use older analog coax cables and max out at 1080p resolution, making them budget-friendly for retrofits, while NVR systems connect IP cameras over Ethernet and support 4K resolution with simpler single-cable Power over Ethernet installation.
- When shopping for a security camera recorder, prioritize channel count (to allow future expansion), surveillance-rated hard drives, 30 fps frame rate at full resolution, and reliable remote access through mobile apps or web browsers.
- Proper installation of a security camera recorder involves planning camera placement at entry points, running outdoor-rated cables with proper sealing, configuring motion detection zones, and setting strong admin passwords to prevent unauthorized access.
- Choose NVR systems for new installations or if you want crisp 4K footage with advanced analytics like facial recognition, while DVRs remain a solid option for straightforward analog setups on a tight budget.
What Is a Security Camera Recorder and Why You Need One
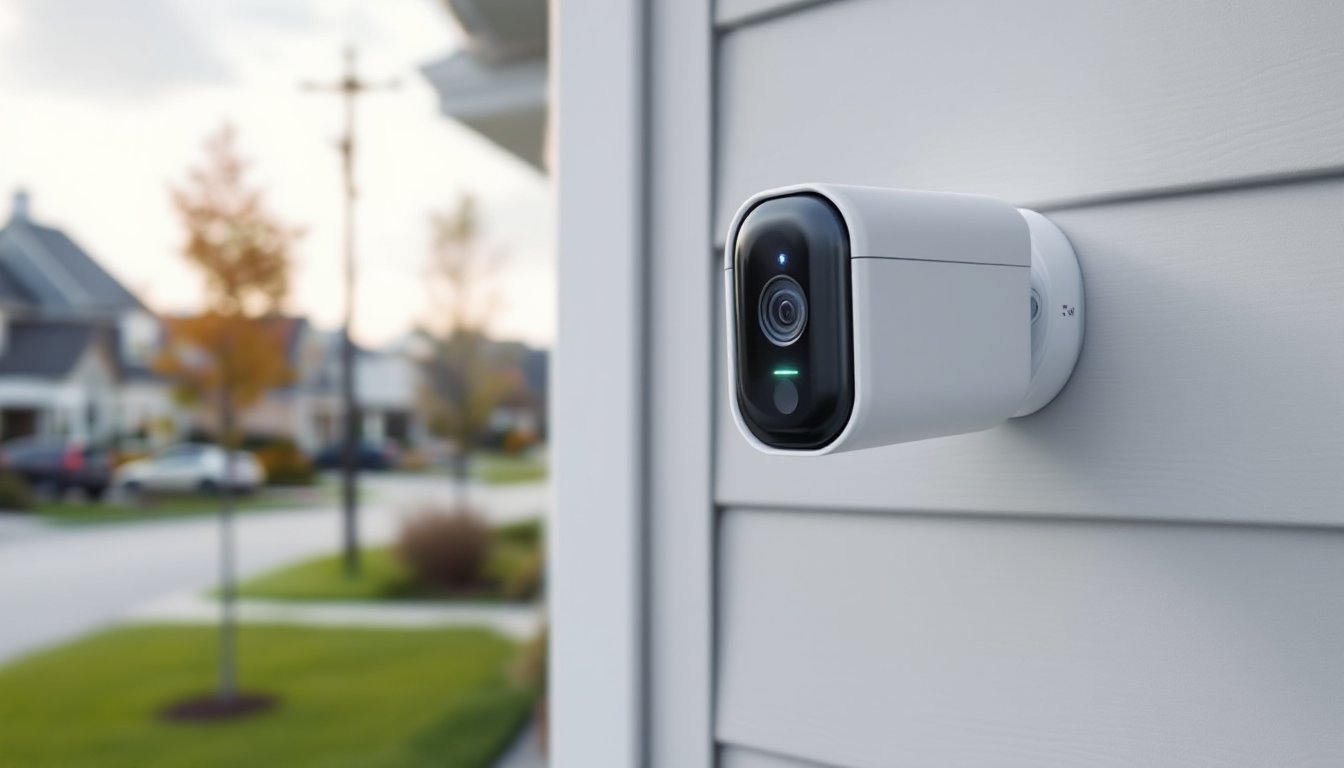
A security camera recorder is a dedicated device that captures, compresses, and stores video feeds from connected cameras. Think of it as a specialized computer running 24/7, managing incoming streams and writing them to a hard drive. Unlike cameras with built-in SD card slots, which top out at a few days of footage and can be stolen along with the camera, a recorder sits inside your home, safely archiving weeks or months of video.
Recorders also centralize control. Instead of juggling apps for individual cameras, you manage everything through one interface: playback, export, motion alerts, and remote viewing. Most systems include motion detection zones, which trigger recording only when something moves in specific areas, saving storage space and making it easier to find relevant clips.
Why bother when cloud storage exists? Cost and control. Cloud plans charge monthly fees that add up fast, especially for multiple cameras. A recorder uses local storage with no subscription. You own the footage outright, and it stays on your property. If your internet goes down, the recorder keeps working, cloud-only systems don’t.
That said, recorders require upfront investment and a bit of DIY setup. You’ll need to run cables (for most systems), mount the recorder box somewhere ventilated, and configure recording schedules. If you’re comfortable drilling a few holes and running coax or Ethernet, it’s a weekend project.
Types of Security Camera Recorders for Home Use
Security recorders split into two main camps: DVR and NVR. The difference boils down to camera type, cable requirements, and image quality. Choose the wrong match, and your cameras won’t even talk to the recorder.
DVR (Digital Video Recorder) Systems
DVR systems pair with analog coaxial cameras, typically older or budget models. Video travels over RG59 or RG6 coax cable, the same stuff used for cable TV. The DVR converts analog signals to digital for storage.
DVRs max out at 1080p resolution for most consumer models, though some newer units support 4MP or 5MP over coax using technologies like HD-TVI or AHD. That’s plenty for identifying faces within 20 feet or catching license plates in a driveway.
Pros: Coax cables are cheap, and runs up to 300 feet work fine without signal boosters. If you’re retrofitting an older system or working with a tight budget, DVR keeps costs down.
Cons: Image quality lags behind IP cameras. You’re also locked into analog cameras, no mixing with modern network cams. Most DVRs require separate 12V power supplies at each camera, meaning you’ll run both coax and power lines unless you step up to HD-TVI with PoC (power over coax), which pushes power through the same cable.
Expect to pay $150–$400 for a 4- to 8-channel DVR, not including cameras or drives. When comparing recording systems for home surveillance, DVRs remain a solid pick for straightforward analog setups.
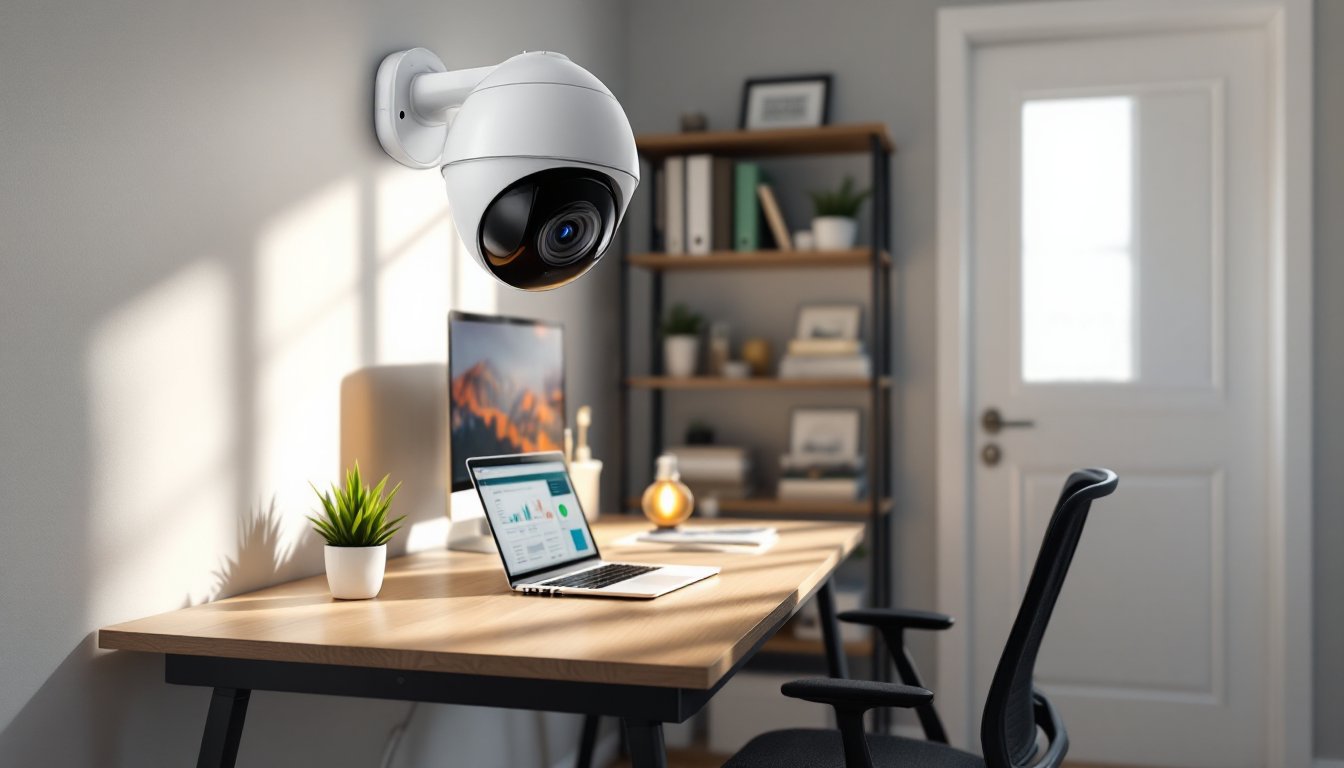
NVR (Network Video Recorder) Systems
NVR systems connect to IP cameras over Ethernet (Cat5e or Cat6 cable). Video streams digitally from camera to recorder, skipping the analog-to-digital conversion step. That means higher resolution, 4K (8MP) is common, and some systems push 12MP or beyond.
Most NVRs support Power over Ethernet (PoE), which delivers both data and power through a single Cat6 cable. No separate power bricks, no wall warts. The NVR itself or a PoE switch handles power distribution. It’s cleaner, faster to install, and easier to troubleshoot.
Pros: Superior image quality, especially in low light. IP cameras often include built-in analytics, line crossing, facial recognition, license plate reading, that DVRs can’t touch. Ethernet runs up to 328 feet per segment, and you can extend further with PoE extenders.
Cons: Higher upfront cost. A decent 8-channel NVR runs $250–$600, and IP cameras cost more than analog. Cat6 cable is pricier than coax, though the single-cable PoE setup saves install time.
NVRs dominate the current market. If you’re starting fresh and want crisp 4K footage with room to grow, go NVR. Many modern camera systems now ship with NVRs and PoE switches bundled in the kit.
Key Features to Look for When Shopping
Not all recorders are created equal. Here’s what separates a reliable unit from a headache.
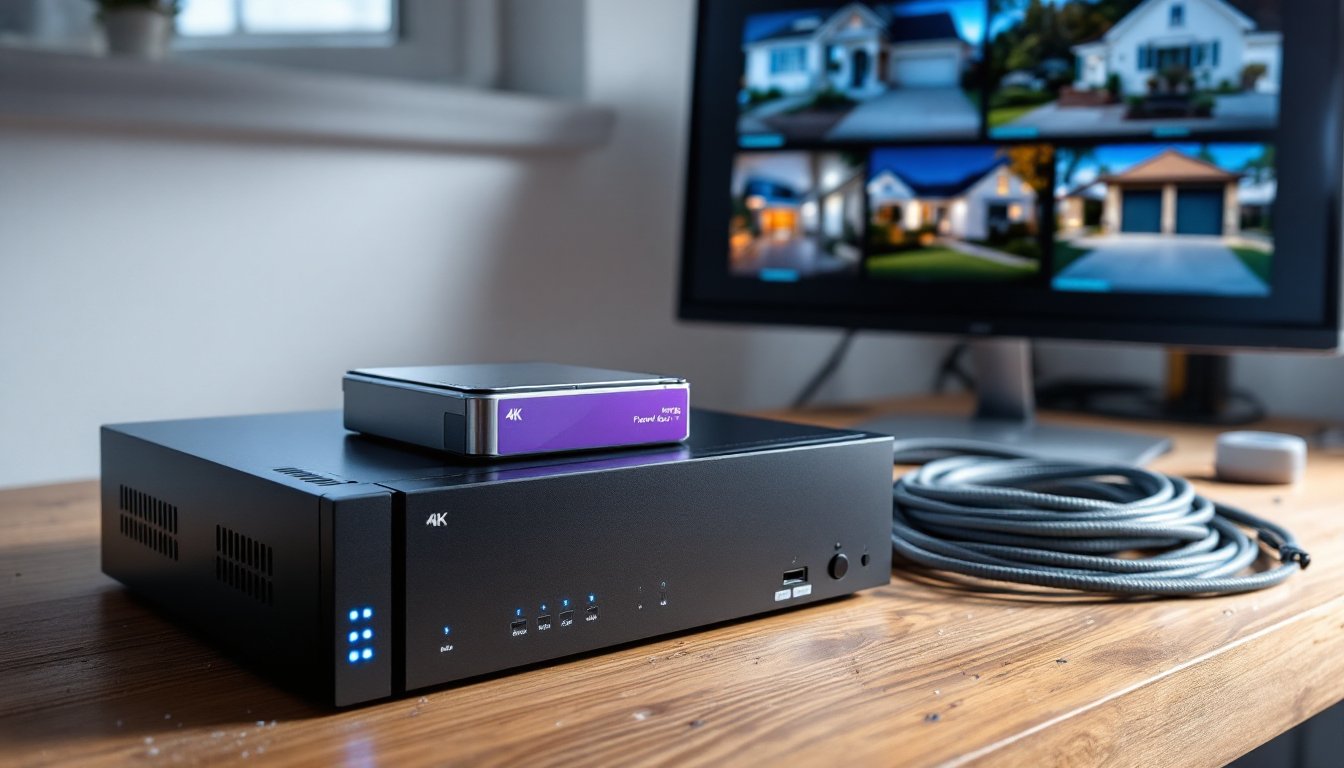
Channel count: This is how many cameras the recorder supports. Common sizes are 4, 8, 16, or 32 channels. Buy more channels than you need now, adding cameras later is cheaper than swapping the whole recorder. An 8-channel NVR gives you room to expand without very costly.
Storage capacity: Most recorders ship without a hard drive, so you’ll buy one separately. Use a surveillance-rated drive like Western Digital Purple or Seagate SkyHawk, consumer desktop drives aren’t built for 24/7 write cycles and fail faster. A 2TB drive holds roughly two weeks of 1080p footage from four cameras recording continuously, or a month if motion-only. For 4K, double the storage. Recorders support SATA drives up to 10TB or more, depending on the model.
Resolution support: Match the recorder’s max resolution to your cameras. A 1080p DVR can’t display 4K feeds. If you’re investing in 4K IP cameras, get an NVR rated for 4K (8MP) input and output.
Frame rate: Look for 30 frames per second (fps) per channel at full resolution. Cheaper units drop to 15 fps when all channels record simultaneously, making motion look choppy. Higher frame rates help when reviewing fast action, cars, running figures.
Remote access: Most modern recorders include mobile apps and web browser access for viewing live feeds or playback from anywhere. Check that the interface actually works: some budget units have apps that crash or require port forwarding gymnastics. ONVIF compatibility is a plus, it lets you mix and match cameras from different brands.
Motion detection and alerts: Decent recorders let you draw custom motion zones and set sensitivity. You want alerts for someone crossing the driveway, not every time a tree branch sways. Push notifications to your phone are standard: email alerts with snapshot attachments are a nice bonus.
Backup and export: You’ll eventually need to save a clip, for police, insurance, or just to prove your neighbor did, in fact, park on your lawn. Look for USB export, network download, or cloud backup options. Formats matter: MP4 plays everywhere: proprietary formats require the manufacturer’s clunky software.
Power backup: A UPS (uninterruptible power supply) keeps the recorder running during brief outages. It’s not built into the recorder, but worth budgeting for, especially if you’re in an area prone to brownouts.
Safety note: If you’re installing a PoE system, don’t exceed the total wattage budget of your NVR or switch. Each camera draws power: add them up and confirm the switch can handle it. Overloading risks damage or dropped cameras.
How to Install and Set Up Your Recorder
Installation difficulty depends on whether you’re running new cables or using an existing setup. Either way, plan for a Saturday and have a helper on hand for outdoor runs.
1. Plan camera and recorder locations. Mount cameras where they cover entry points, front door, back door, garage, driveway. The recorder goes indoors, ideally in a closet, basement, or utility room with ventilation (these boxes get warm). Keep it near your router for wired network access.
2. Run cables. For DVR/coax systems, run RG6 from each camera to the recorder. For NVR/PoE, run Cat6. Use outdoor-rated cable (direct burial or UV-resistant) for exterior runs. Drill through rim joists or siding with a 7/8-inch spade bit, angle the hole slightly downward outside to prevent water intrusion, and seal with silicone caulk. Inside walls, fish cable through studs with a fish tape or tie it to existing cable runs if you’re lucky.
Cable runs longer than 300 feet (coax) or 328 feet (Ethernet) need signal boosters or PoE extenders. If you hit that limit, consider relocating the recorder or adding a PoE switch midway.
3. Install the hard drive. Pop the recorder’s case (usually four screws on the back), slide the SATA drive into the bracket, and secure with the included screws. Connect the SATA data and power cables, they only fit one way. Don’t overtighten: snug is enough.
4. Connect cameras and power up. Plug camera cables into the recorder’s numbered ports. For PoE systems, cameras power on automatically. For DVR, connect each camera’s 12V power supply to an outlet or a centralized power distribution box. Connect the recorder to your router with Ethernet and plug it into a surge protector or UPS.
5. Format the drive and configure settings. On first boot, the recorder prompts you to initialize and format the hard drive. This erases everything, so confirm it’s a new drive. Set the date, time, and time zone, critical for timestamped footage. Create a strong admin password: default passwords are the first thing intruders try if they access your network.
6. Set recording schedules. Choose continuous recording (24/7) or motion-only. Continuous eats storage but catches everything: motion-only saves space but might miss brief events if sensitivity is too low. A hybrid approach, continuous during the day, motion-only overnight, works well.
7. Test remote access. Install the manufacturer’s app, scan the QR code on the recorder (or enter its serial number), and log in. Verify you can view live feeds and playback over Wi-Fi and cellular data. If remote access fails, check your router’s firewall settings or enable UPnP (Universal Plug and Play) for automatic port forwarding. Some systems use P2P (peer-to-peer) connections that bypass manual port config.
Permit check: Installing low-voltage wiring for cameras typically doesn’t require a permit in most jurisdictions, but verify with your local building department. If you’re cutting into load-bearing walls or running conduit outdoors, confirm code requirements first.
PPE: Wear safety glasses when drilling, work gloves when handling cable (coax ends are sharp), and a dust mask if working in attics with insulation.
Conclusion
A solid recorder turns scattered camera feeds into a reliable surveillance archive. Match the recorder type to your cameras, DVR for analog, NVR for IP, then size storage and channels for future growth. Installation is straightforward if you’ve fished cable before: if not, budget an extra afternoon for learning the ropes. Once it’s running, you’ve got weeks of footage on tap and full control over your security setup.