Table of Contents
ToggleInstalling a CCTV security system isn’t just for businesses anymore. Homeowners are taking security into their own hands, and with the right preparation, a DIY installation can save hundreds compared to professional rates. Whether someone’s dealing with package thieves or just wants peace of mind while traveling, a properly installed camera system provides 24/7 monitoring without monthly fees to a security company. This guide walks through the complete process, from planning camera placement to configuring remote viewing, so anyone with basic tool skills can tackle this project over a weekend.
Key Takeaways
- Proper planning of camera placement, coverage zones, and cable routing is critical to DIY CCTV security camera installation success, determining whether the project saves money or fails mid-way.
- Choose between wired systems (more reliable, no Wi-Fi dropouts) or wireless systems (easier installation, requires strong connectivity) based on your property layout and technical comfort level.
- Mount cameras 7–9 feet high to balance coverage with tamper resistance, and use weatherproof materials like stainless steel screws and silicone caulk to prevent rust and water intrusion.
- Route cables neatly along eaves and conduit, drilling at downward angles with proper sealing to protect against water damage and creating a professional-looking installation.
- Configure strong admin passwords, motion detection zones, and remote viewing access immediately after setup, and perform quarterly maintenance like lens cleaning to ensure long-term reliability.
- Most homeowners can complete a 4-camera CCTV system installation over a weekend, saving hundreds of dollars compared to professional installation while maintaining 24/7 security monitoring.
Planning Your CCTV System Before Installation
Before drilling a single hole, the homeowner needs to map out the entire system. This is where most DIY installations succeed or fail.
First, identify critical coverage zones: entry doors, driveway, garage, side gates, and any ground-floor windows. Walk the property at different times of day to spot blind spots and note where lighting is poorest, cameras need adequate light or built-in infrared for night vision.
Next, choose between wired or wireless systems. Wired cameras (using coaxial or Ethernet cables) offer more reliable connections and don’t suffer from Wi-Fi dropouts, but they require running cable through walls or attics. Wireless systems are easier to install but depend on strong Wi-Fi coverage and require either battery changes or nearby outlets.
Decide on a DVR (Digital Video Recorder) for analog cameras or an NVR (Network Video Recorder) for IP cameras. DVRs work with coaxial cable and traditional CCTV cameras, while NVRs handle IP cameras over Ethernet. Most 4- to 8-camera kits include the recorder, but verify the maximum number of channels supported if planning to expand later.
Check local regulations. Some jurisdictions restrict camera placement if they capture neighboring properties or public sidewalks. If the system includes audio recording, additional consent laws may apply. When planning extensive exterior wiring or mounting on load-bearing structures, verify whether a permit is required, requirements vary widely by municipality.
Measure cable runs from each camera location to the recorder. Add 10-15% extra length to account for routing around obstacles and vertical drops. Pre-made cables simplify installation, but bulk cable and connectors allow custom lengths for cleaner runs.
Essential Tools and Equipment You’ll Need
Gather everything before starting. Nothing kills momentum like three trips to the hardware store.
Tools required:
- Power drill with masonry bits (for brick/concrete) and wood bits (for siding/soffits)
- Screwdriver set (both Phillips and flathead)
- Fish tape or pull string for running cables through walls
- Ladder rated for the highest mounting point plus 3 feet
- Cable crimpers (if terminating custom cable lengths)
- Cable tester to verify connections before powering up
- Stud finder for locating solid mounting surfaces
- Level to ensure cameras aren’t tilted
- Silicone caulk and caulk gun for weatherproofing exterior penetrations
- Wire strippers for preparing cable ends
Safety equipment:
- Safety glasses (mandatory when drilling overhead)
- Work gloves for handling cable and sharp edges
- Dust mask if drilling into old plaster or insulation areas
- Ear protection for extended drilling sessions
Materials checklist:
- CCTV camera kit (or individual cameras, recorder, and cables)
- Mounting brackets (usually included, but verify)
- Cable clips or staples for securing runs
- Outdoor-rated cable if running through exposed areas (UV-resistant jacket)
- Cable glands or grommets for protecting wire where it passes through walls
- Waterproof junction boxes for any exterior cable connections
- Cable labels to identify each camera’s line at the recorder
For wired systems using Cat5e or Cat6 cable, a crimping tool and RJ45 connectors are essential unless using pre-terminated cables. For coaxial systems, BNC connectors and compression tools do the job.
Step-by-Step Installation Process
Mounting Your Cameras in Strategic Locations
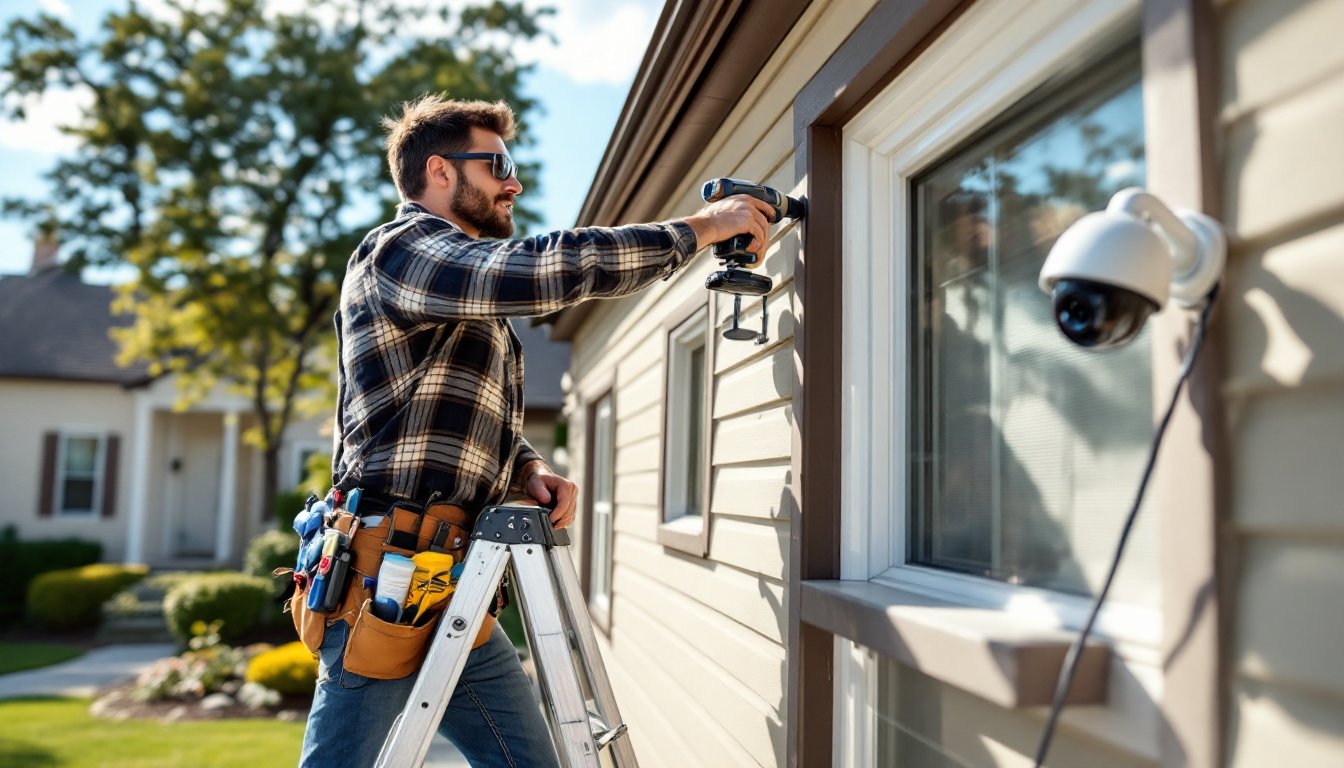
Start by physically installing the cameras before dealing with wiring, it’s easier to adjust placement now than after cables are secured.
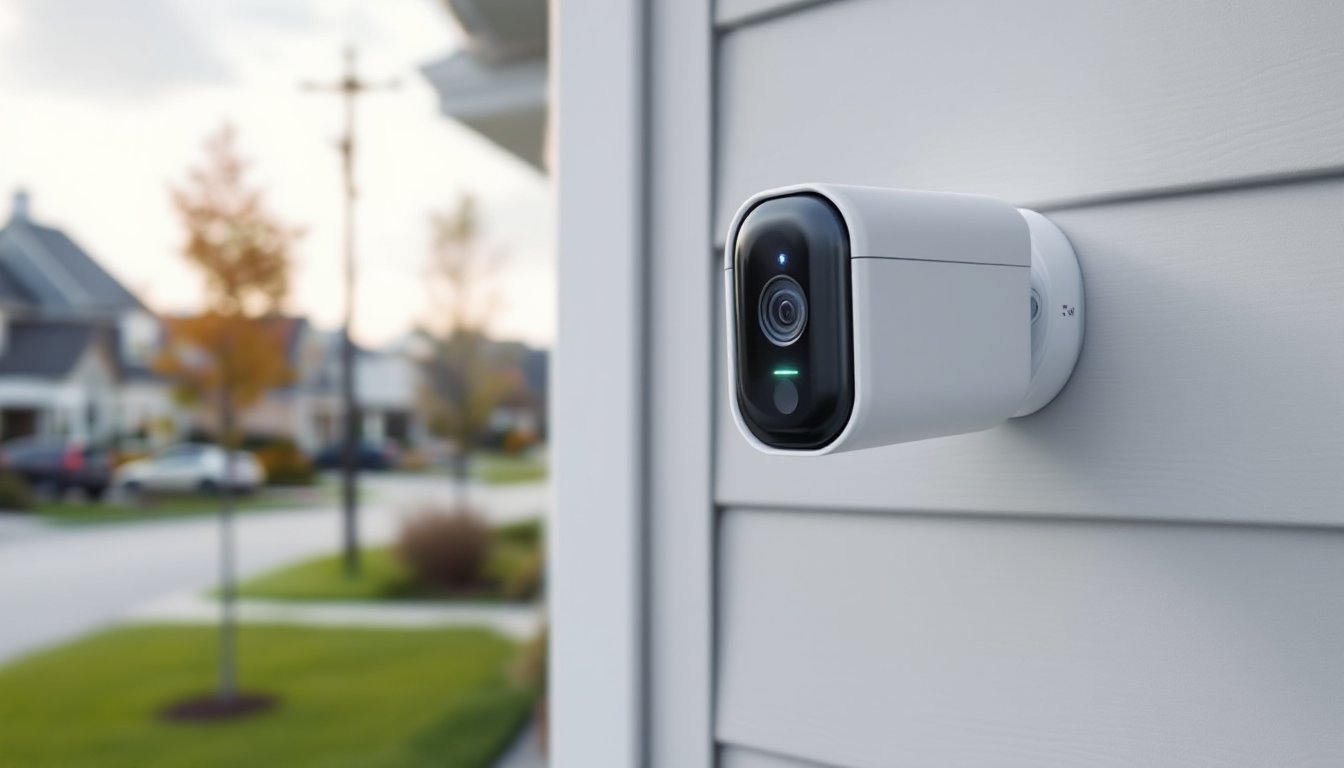
Hold each camera bracket at the planned location and check the field of view through the lens. Most cameras have a viewing angle between 75-110 degrees. Adjust height and angle to capture faces at entry points, not just the tops of heads. A camera mounted 7-9 feet high typically balances coverage with tamper resistance.
Mark mounting holes with a pencil. For wood siding or trim, drill pilot holes slightly smaller than the screw diameter to prevent splitting. For brick, concrete, or stucco, use a masonry bit and plastic anchors rated for outdoor use, the camera and bracket weight plus wind load requires anchors rated for at least 25 pounds.
If mounting to vinyl siding, locate the solid substrate behind it (usually plywood sheathing or a stud). Vinyl alone won’t support a camera. A mounting block designed for outdoor fixtures provides a solid surface and looks cleaner than screwing through siding.
Secure the bracket with stainless steel or coated screws to prevent rust streaks. Apply a bead of silicone caulk around the bracket’s back edge before tightening completely, this seals against water intrusion.
Run the camera’s cable through the bracket’s wire passage before final mounting. Most brackets have a channel or grommet: use it to protect the cable from the bracket’s sharp edges.
Running Cables and Connecting to Your DVR or NVR
This is where patience pays off. Professional-looking installations hide cables: rushed jobs have wires dangling across siding.
For exterior runs, route cable along eaves, behind downspouts, or inside conduit. Staple or clip cables every 18-24 inches to prevent sagging and wind damage. Use cable clips designed for outdoor use, indoor staples will rust.
When penetrating an exterior wall, drill at a slight downward angle from outside to inside. This prevents water from following the cable into the wall cavity. After feeding the cable through, seal the hole with silicone caulk or use a proper cable grommet.
For attic or crawlspace runs, fish tape pulls cable through tight spaces. Attach the cable to the fish tape with electrical tape, forming a smooth taper so it doesn’t snag on insulation or framing. Label each cable at both ends immediately, it’s nearly impossible to trace them later.
If drilling through a top plate or floor joist, keep holes within 1/3 of the member’s depth and centered in the span to avoid compromising structural integrity. In older homes, check for electrical wiring, plumbing, or HVAC ducts before drilling blindly.
At the recorder location, leave 3-4 feet of excess cable. This allows repositioning equipment without re-running cable. Use cable ties or Velcro straps to bundle lines neatly, avoid overtightening, which can damage the conductors.
Connect each cable to the appropriate port on the DVR or NVR. Most systems use numbered channels: match camera locations to channel numbers and note them for later reference. For PoE (Power over Ethernet) systems, the NVR provides power through the data cable. Coaxial systems require separate power cables to each camera, typically using a multi-camera power supply box.
Homeowners considering professional installation can compare costs: security camera installation pricing varies significantly by system complexity and location.
Configuring and Testing Your Security System
With cameras mounted and cables connected, it’s time to bring the system online.
Plug the recorder into a monitor or TV using the included HDMI or VGA cable. Power on the system and wait for the boot sequence, this can take 2-3 minutes on first startup. Most systems display a setup wizard: follow prompts to set the date, time, and recording schedule.
Set a strong admin password immediately. Default passwords are publicly known and make systems vulnerable to unauthorized access. Use at least 12 characters mixing letters, numbers, and symbols.
Adjust each camera’s angle and focus while viewing the monitor. Pan-tilt cameras adjust via software, but most fixed cameras require physical repositioning. Tighten mounting bolts only after confirming the view captures the intended area.
Configure motion detection zones to reduce false alerts. Exclude areas with trees, flags, or busy streets that trigger constant notifications. Set sensitivity levels through trial and error, start at medium and adjust based on missed events or too many false positives.
For night vision, verify infrared LEDs activate in darkness. Most cameras switch automatically, but some require manual settings. If night images appear washed out, the camera may be too close to a reflective surface (vinyl siding, glass, metal). Repositioning just a few inches often solves glare issues.
Enable remote viewing by connecting the recorder to the home network via Ethernet. Most systems include mobile apps: scan the provided QR code or manually enter the recorder’s IP address. Set up port forwarding on the router if remote access doesn’t work automatically, specific ports vary by manufacturer, so consult the manual.
Test recording by triggering motion in each camera’s view and verifying footage saves correctly. Check playback speed and video quality settings: higher resolution consumes more storage. A 1TB hard drive typically stores 7-14 days of continuous recording from 4 cameras at 1080p, depending on compression settings.
Many systems now integrate with smart home platforms. DIY installers looking for detailed walkthroughs can find camera installation guides covering various camera types.
Schedule regular maintenance: clean camera lenses quarterly, check cable connections annually, and test backup power (if equipped) every six months. Firmware updates improve security and add features, enable automatic updates or check manually every few months.
For complex installations involving extensive wiring or integration with existing home automation, professional contractors can provide estimates to compare against the DIY approach.
Conclusion
A properly installed CCTV system delivers years of reliable security without recurring fees. The upfront effort of planning camera locations, running clean cable routes, and dialing in settings pays off with footage when it’s actually needed. Most DIYers complete a 4-camera system in a weekend, gaining both security and the satisfaction of handling a project that many assume requires professional help.