Table of Contents
ToggleThat security system installed five years ago? It’s probably missing out on features that could make your home safer and your life easier. Technology moves fast, and even a once-cutting-edge setup can feel outdated when newer systems offer sharper video, smarter alerts, and seamless app control. The good news: you don’t always need to rip everything out and start over. Many upgrades work with what you’ve already got, letting you layer on better cameras, smarter sensors, or remote access without rewiring the whole house. Whether you’re dealing with a basic monitored alarm or a DIY kit that’s seen better days, upgrading strategically can extend your system’s lifespan and close security gaps.
Key Takeaways
- Upgrading an existing home security system doesn’t require complete replacement—modern add-on modules like cellular communicators, smart locks, and upgraded cameras integrate seamlessly with older panels to enhance safety and control.
- Address critical vulnerabilities first: replace outdated landline connections with cellular or Wi-Fi modules, upgrade to 1080p or 4K cameras with night vision, and install smart sensors for water leaks and environmental threats that older systems miss.
- DIY installation works well for standalone devices like video doorbells, smart locks, and wireless cameras, but panel replacement and new wire runs through walls should be handled by licensed professionals to ensure safety and maintain monitoring contracts.
- Phased upgrades spread costs over time and deliver incremental security improvements—start with entry-point sensors, add video doorbells, then install cameras—while self-monitoring or hybrid plans can reduce monthly subscription fees by $20–$60.
- Ensure protocol compatibility by checking whether your panel supports Z-Wave or Zigbee standards, update firmware for third-party device support, and use smart hubs like SmartThings to bridge older panels with newer technology.
- Check your homeowners insurance for security system discounts (5–20% off premiums), watch for seasonal sales offering 30–40% discounts on bundled equipment, and consider refurbished hardware from reputable sellers to maximize your upgrade budget.
Why Upgrade Your Current Security System?
Older systems often rely on landline connections, which are increasingly rare in modern homes. If your panel still dials out over copper wire, it’s vulnerable to line cuts and incompatible with cellular or broadband backup. That’s a single point of failure.
Video quality is another glaring gap. Cameras from even a few years back might max out at 720p or lack night vision modes that are standard now. If you can’t make out a face or read a license plate, the footage isn’t much help. Modern 1080p or 4K cameras with HDR and infrared cut through glare and darkness.
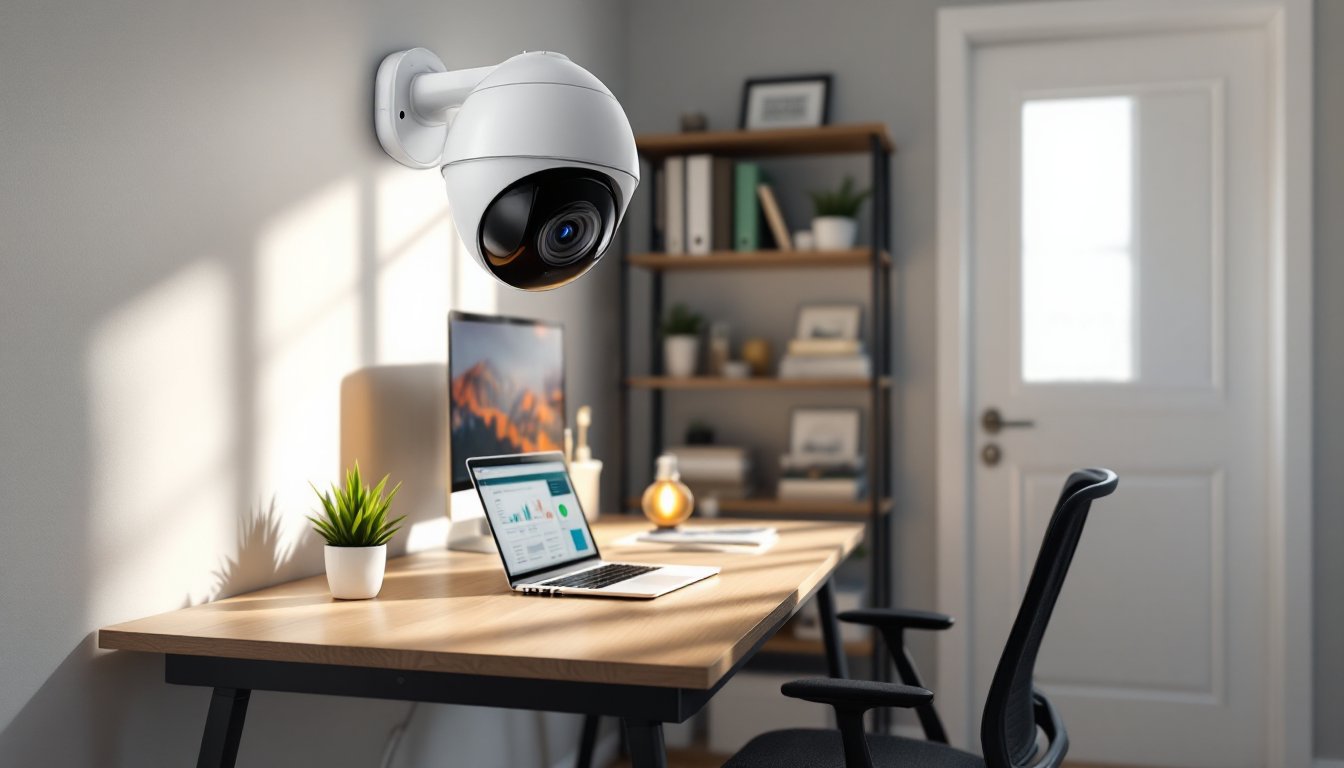
Smart home integration is the real game-changer. Newer components talk to voice assistants, send push notifications with video clips, and let homeowners arm or disarm remotely. Older panels rarely play nice with these ecosystems, leaving users stuck with separate apps or no mobile access at all.
Finally, there’s the subscription creep. Legacy monitoring contracts can run $40–$60/month with limited features. Upgrading to a hybrid or self-monitored system can cut that cost while adding more control and transparency.
Assessing Your Existing Security Setup
Start by identifying what you have. Open the main panel and note the brand and model number, usually printed on a label inside the door or on the circuit board. Check if it’s a hardwired system (sensors connected by low-voltage wire running through walls) or wireless (battery-powered sensors using RF signals). Hardwired setups are common in homes built or renovated before 2010: wireless systems became standard after that.
Test each component. Walk the perimeter and trigger door/window sensors, motion detectors, and glass-break sensors. If any fail to register on the panel or show weak signal warnings, they’re prime candidates for replacement. Check camera feeds for clarity, lag, or dead zones.
Look at your monitoring contract and communication method. Is it professionally monitored, self-monitored, or unmonitored? Does the panel use a landline, cellular module, or broadband? If you’re locked into a long-term contract, verify whether the provider allows third-party hardware or requires proprietary gear.
Measure your coverage gaps. Are there blind spots like side gates, basement windows, or detached garages? List them. Count how many zones your panel supports versus how many you’re using, older panels often max out at 8–16 zones, limiting expansion. If you’re near capacity, you might need a new panel or a hybrid approach with standalone smart devices.
Document your wiring. For hardwired systems, note where wire runs terminate. If you’re keeping the panel, existing wire can sometimes be reused for upgraded sensors, saving installation time and wall patching.
Smart Technology Upgrades Worth Making
Cellular or Wi-Fi communication modules top the list. If your panel supports add-on modules, swapping a landline card for a cellular or IP communicator gives you redundancy and remote access. Brands like Honeywell, DSC, and Qolsys offer retrofit modules that plug into existing panels. Expect to pay $100–$200 for the hardware, plus monthly service fees if monitored.
Smart locks with keypad or biometric entry eliminate fumbling for keys and let homeowners assign temporary codes for contractors or guests. Look for models compatible with your panel or standalone units that integrate via Z-Wave or Zigbee. Deadbolts like the Schlage Encode or Yale Assure Lock+ work with most ecosystems. Installation is straightforward, just swap the existing deadbolt, ensuring the door is properly aligned so the latch doesn’t bind.
Environmental sensors catch threats traditional systems miss. Water leak detectors placed near water heaters, sump pumps, or under sinks can prevent thousands in damage. Smoke and CO detectors that tie into your security system trigger alerts and can notify monitoring stations, giving you an edge over standalone units. Many retrofit into existing alarm zones.
Glass-break sensors and motion detectors have improved significantly. Newer acoustic glass-break sensors filter out false triggers like barking dogs or dropped dishes. Dual-tech motion detectors combine passive infrared (PIR) with microwave sensing to cut false alarms from pets or HVAC drafts. If your current sensors are over a decade old, replacement makes sense.
Video Doorbell and Camera Enhancements
Video doorbells give you a front-door view before opening up. Models like the Ring Video Doorbell or Nest Doorbell (wired or battery) install in place of an existing doorbell button, using the same low-voltage wiring. If you don’t have doorbell wiring, battery-powered versions stick to the doorframe with mounting tape or screws. Check that your existing doorbell transformer puts out 16–24V AC, older transformers sometimes run 10V and won’t power smart doorbells reliably. Upgrading the transformer is a quick swap at the breaker panel or chime box: just kill power first.
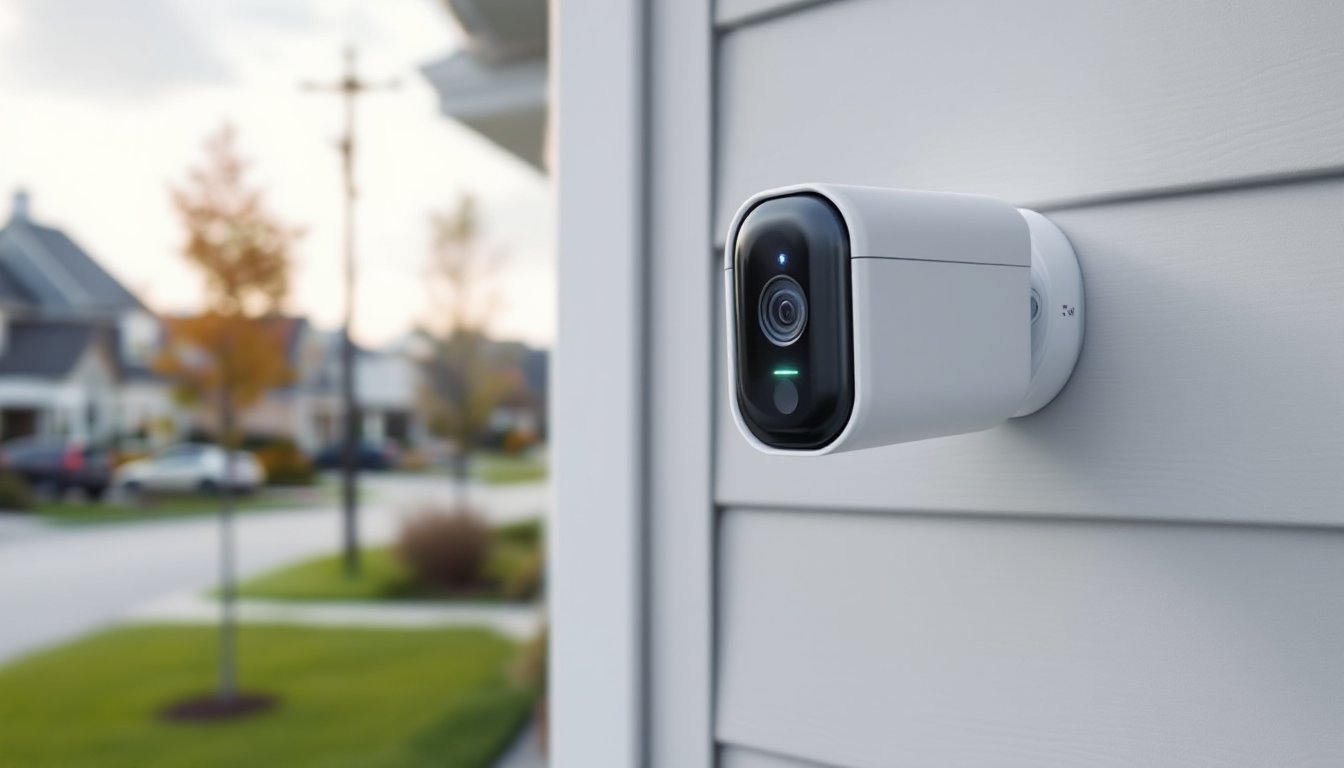
For cameras, prioritize spots with the worst visibility. Outdoor cameras should cover driveways, side gates, and back doors. Look for IP66 or IP67 weather resistance, night vision with at least 30 feet of infrared range, and two-way audio so you can communicate with delivery drivers or scare off intruders. Wired cameras (PoE or low-voltage) offer reliable power but require running cable through walls or soffits. Wireless models are easier to install but depend on battery life and Wi-Fi strength, test signal before mounting.
Mounting height matters: aim for 7–9 feet to avoid tampering but stay below the roofline to capture faces, not just the tops of heads. Use a level and mark holes before drilling. For masonry or stucco, use a masonry bit and plastic anchors rated for outdoor use.
Many modern cameras integrate with existing panels via Z-Wave, but standalone systems like Arlo, Eufy, or Reolink work independently and store footage locally or in the cloud. Decide whether you want everything under one app or don’t mind juggling a couple.
DIY vs. Professional Installation: What’s Best for Your Upgrade?
DIY installation works well for add-on devices that don’t require low-voltage wiring or panel programming. Swapping sensors, mounting cameras, or installing smart locks are all within reach for a homeowner comfortable with a drill and screwdriver. Video doorbells and standalone smart devices usually pair via app and don’t need panel integration. Budget 2–4 hours for a typical multi-device install, longer if you’re fishing wire or troubleshooting Wi-Fi.
But some upgrades call for a pro. Replacing a legacy hardwired panel often means dealing with AC power at the breaker, low-voltage terminations, and programming zones, missteps can disable the system or worse, create a fire hazard if wiring shorts. If your system ties into a monitored service, the provider may require certified installation to maintain the contract.
Running new wire through finished walls, attics, or crawlspaces is tedious and risks damaging drywall or insulation. A licensed low-voltage installer has the tools (fish tape, borescope, wall-cavity access) to do it cleanly. Expect $75–$150/hour depending on your region.
Permit requirements vary by jurisdiction but are rare for security upgrades unless you’re adding new electrical circuits or altering structural elements. Check with your local building department if you’re unsure. Some municipalities require alarm permits and levy fines for excessive false alarms, verify whether your upgrade affects permit status.
If you’re keeping a monitored service, ask whether self-installed devices void warranties or violate terms. Some providers offer hybrid plans where they supply and program the panel, but you install peripherals. That middle path saves money and keeps support intact.
Integrating New Devices with Your Existing System
Protocol compatibility is the first hurdle. Older panels speak proprietary languages, each brand’s sensors only work with that brand’s hardware. Newer panels often support Z-Wave or Zigbee, open standards that let you mix and match devices. If your panel is closed, you have two paths: replace the panel or run new devices as standalone units that bypass it.
For panels that accept third-party modules, check the firmware version. Many brands release updates that unlock compatibility with newer sensors or communication methods. Log into the installer menu (default codes are often in the manual or online) and check for updates. Wear safety glasses and kill AC power at the breaker before opening the panel, backup batteries can deliver a jolt.
When adding wireless sensors, program each zone into the panel. You’ll need to enter installer mode, assign a zone number, and trigger the sensor so the panel learns its ID. This process, called enrollment or pairing, varies by brand, consult the manual or search for your model’s programming guide. For modern upgrades involving smart cameras and sensors, understanding protocol compatibility simplifies the process.
App integration depends on whether your panel or devices support APIs or IFTTT (If This Then That). Some systems let you create automations, like turning on lights when motion is detected, or sending a text if a door opens while you’re away. If your legacy panel doesn’t support this, consider a smart hub like Samsung SmartThings or Hubitat Elevation. These hubs bridge older alarm panels with newer smart devices, unifying control under one app. Setup involves connecting the hub to your home network and pairing devices one by one.
Test everything after integration. Arm and disarm the system, trigger sensors, and verify that alerts reach your phone. Walk the property at night to check camera night vision and motion detection zones. Adjustments are easier now than after you’ve buttoned everything up.
Budget-Friendly Upgrade Strategies
Prioritize upgrades by risk, not features. Start with entry points: reinforce door and window sensors on the ground floor and basement before adding cameras to low-traffic areas. A solid perimeter beats flashy gadgets every time.
Reuse existing wiring wherever possible. If you’re upgrading from wired sensors to wireless, leave the old wire in place, it can power new devices or serve as a backup. For camera installs, Cat5e or Cat6 cable already run for old landline phones or unused coax can carry PoE (Power over Ethernet), saving you the cost and hassle of new wire runs.
Buy refurbished or previous-generation hardware. Security tech iterates fast, and last year’s model often does the job at a steep discount. Stick to reputable sellers, manufacturer refurbs or authorized resellers, to avoid counterfeit gear or units with banned firmware. Check reviews for known issues before buying.
Phased upgrades spread cost over time. Month one, add a cellular module and a couple of door sensors. Month two, install a video doorbell. Month three, cameras. You’ll see incremental improvements without the sticker shock of a full replacement. Homeowners exploring strategies for improving security often find phased approaches more manageable.
Self-monitoring eliminates monthly fees but puts response on you. Many modern systems let you skip professional monitoring and rely on smartphone alerts. You’ll save $20–$60/month, but you’re responsible for calling authorities if something happens. Weigh that tradeoff against your schedule and risk tolerance.
Watch for sales around Black Friday, Prime Day, and end-of-quarter clearances. Security brands often bundle cameras, sensors, and hubs at 30–40% off. Pair that with a cashback credit card or manufacturer rebate to stretch your budget further.
Finally, check whether your homeowners insurance offers discounts for upgraded security systems. Some insurers knock 5–20% off premiums for monitored systems or specific device types. Document your upgrades and submit proof to your agent, it might cover a chunk of your investment. For additional tips on cost-effective improvements, expert recommendations on upgrades highlight practical steps.