Table of Contents
ToggleSecurity camera bundles offer a straightforward way to protect your home without the guesswork of piecing together individual components. Instead of researching compatible cameras, recorders, and cables separately, a bundle delivers everything needed to get a multi-camera system up and running. For homeowners tackling their first security installation, bundles eliminate compatibility headaches and often cost significantly less than buying components individually. This guide covers what’s inside these packages, how to choose the right type for your property, and how to install one yourself without hiring a contractor.
Key Takeaways
- Security camera bundles provide a complete, pre-matched system that costs 20–40% less than buying individual components and eliminates compatibility guesswork for homeowners.
- Wired PoE systems deliver reliable, interference-free video for permanent installations, while wireless bundles offer faster setup but depend on strong Wi-Fi coverage and may require periodic battery recharging.
- Choose resolution based on distance and detail needs: 1080p works for doorways and porches, while 4K cameras capture finer detail for driveways and large yards but require more storage and bandwidth.
- Proper installation takes a weekend and requires planning camera placement at entry points 7–9 feet high, running cables securely, sealing outdoor entry points, and configuring motion zones to reduce false alerts.
- After installation, regularly adjust motion sensitivity, clean lenses, test night vision coverage, and update firmware to maintain system effectiveness and security against vulnerabilities.
What Are Security Camera Bundles and Why Choose Them?
A security camera bundle typically includes multiple cameras, a recording device (NVR or DVR), necessary cables, power supplies, and mounting hardware. Think of it as a complete kit rather than à la carte shopping. The recorder stores footage locally or enables cloud access, while the cameras capture video at entry points, driveways, or vulnerable areas.
Bundles range from basic four-camera kits with 1080p resolution to eight- or sixteen-camera systems offering 4K detail and advanced features like motion zones and two-way audio. Entry-level packages start around $200 to $400, while professional-grade bundles with higher camera counts and storage capacity can run $800 to $1,500 or more. Prices fluctuate based on resolution, storage size (measured in terabytes), and whether the system uses wired or wireless connectivity.
The primary advantage is cost savings, bundles often price 20% to 40% lower than purchasing equivalent components separately. You also avoid compatibility issues since manufacturers design all components to work together out of the box. Setup is more straightforward, with a single instruction manual instead of juggling multiple product guides. For DIYers new to home security, this simplicity matters as much as the price break.
Types of Security Camera Bundles for Every Home
Choosing the right bundle starts with understanding how different systems deliver power and data to the cameras, and where you need coverage.
Wired vs. Wireless Camera Systems
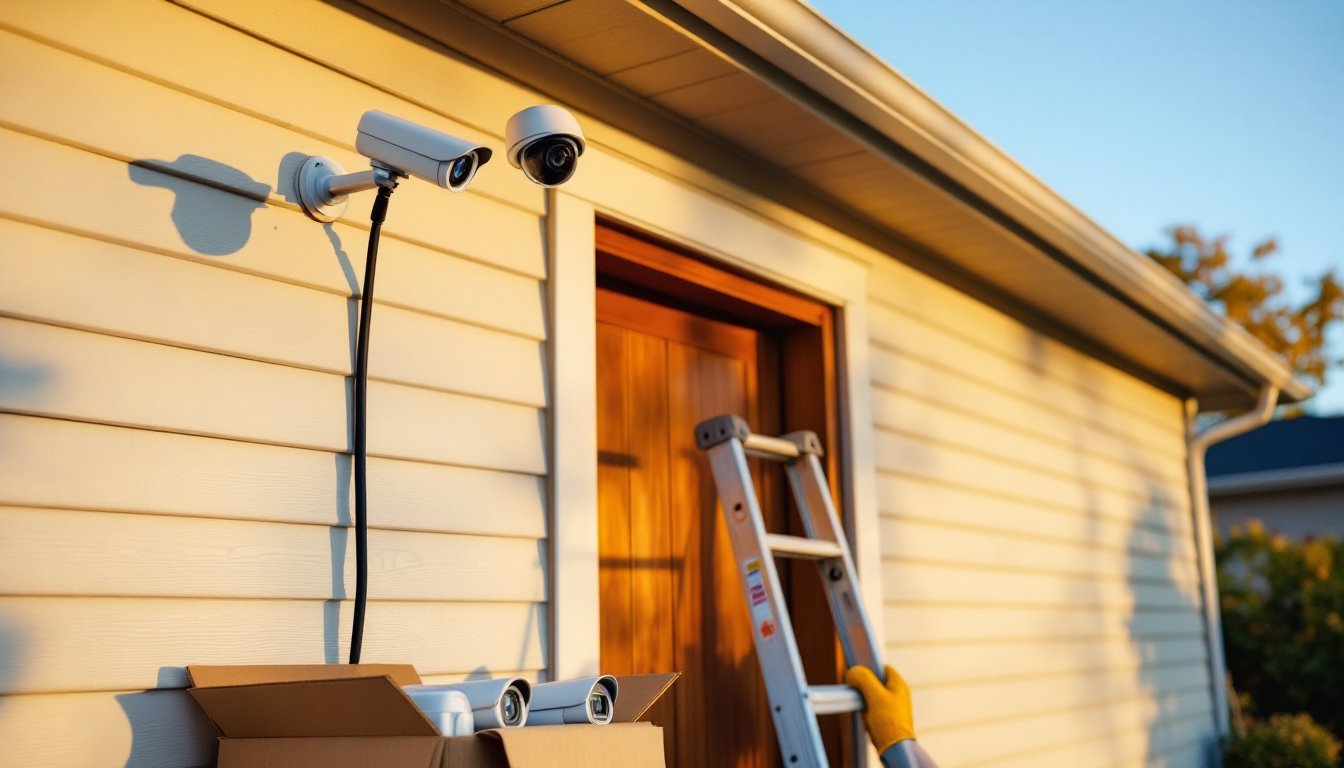
Wired systems (often called PoE, or Power over Ethernet) run a single Cat5e or Cat6 cable from each camera back to the NVR. That cable carries both power and video signal, eliminating the need for separate power adapters at each camera location. Wired setups deliver reliable, interference-free video and work well for permanent installations where running cable through attics or exterior walls is feasible. Expect to drill holes and fish cables, this isn’t a no-tools project. If your home has an unfinished basement or accessible attic, wired installation is usually straightforward. Homes with finished ceilings and no crawl space require more effort or surface-mounted conduit.
Wireless bundles use Wi-Fi to transmit video, though most still require a power outlet or rely on rechargeable batteries. These systems install faster since there’s no cable run, but performance depends on your home’s Wi-Fi strength and layout. Thick walls, metal siding, or distance from the router can cause dropouts. Wireless cameras work best within 50 feet of the router with minimal obstructions. Battery-powered models add flexibility for detached garages or sheds but need recharging every few weeks to months, depending on activity levels. Many security camera systems now offer hybrid options, combining wired reliability for high-traffic areas with wireless convenience for hard-to-reach spots.
Indoor, Outdoor, and Mixed Coverage Packages
Indoor-only bundles feature compact cameras without weatherproofing, designed for monitoring entryways, hallways, or common areas inside the home. These typically lack the rugged housing and IP65 or IP66 ratings found on outdoor models, which protect against dust and water intrusion.
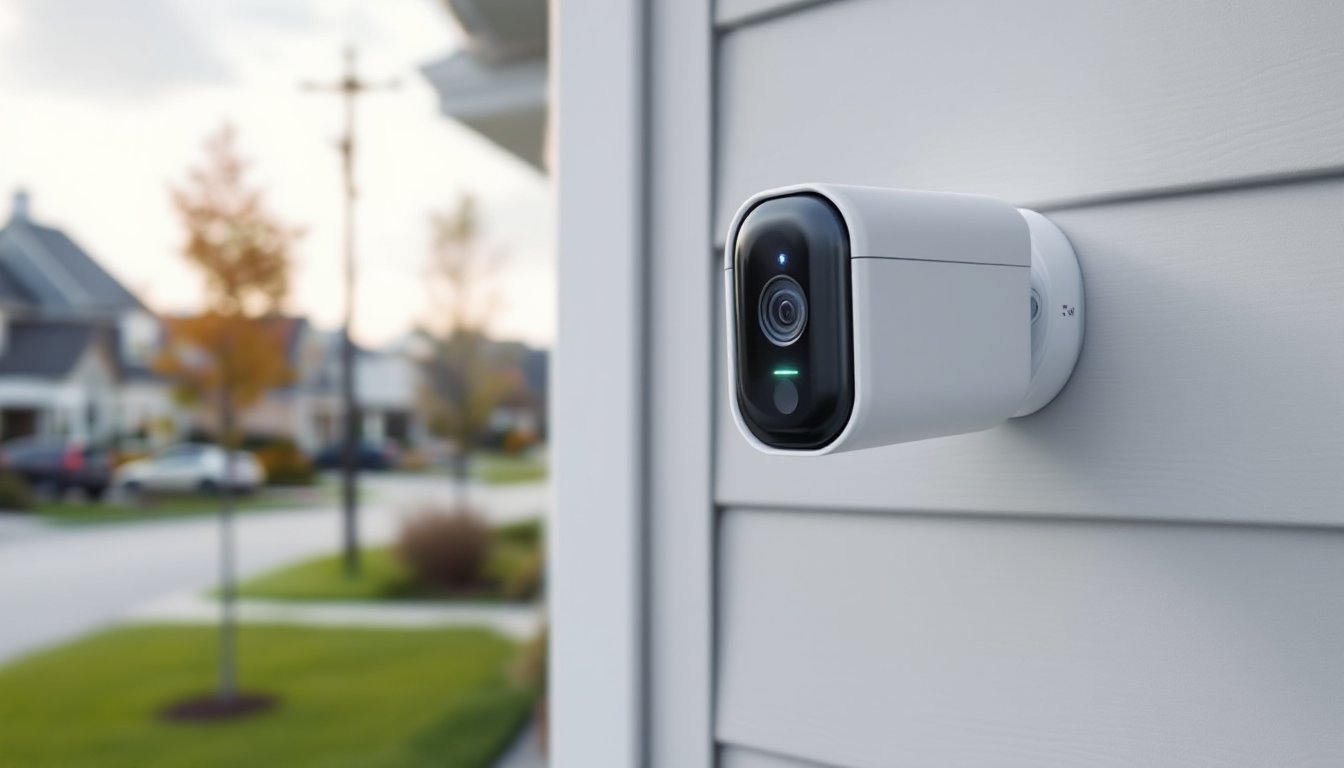
Outdoor bundles include cameras with weather-resistant enclosures, infrared night vision (usually 30 to 100 feet of IR range), and mounting brackets for eaves, soffits, or walls. Placement matters: aim cameras at doors, garage entries, and ground-floor windows where most break-ins occur. Avoid aiming directly at the sun or bright light sources, which can wash out the image.
Mixed packages combine both indoor and outdoor cameras in one bundle, ideal for whole-home coverage. A typical four-camera mixed bundle might include two bullet-style outdoor cameras and two dome cameras for interior use. Check the camera count and types before buying, some bundles advertise eight cameras but include only two outdoor-rated units.
Key Features to Look for in a Camera Bundle
Not all bundles deliver the same performance. Focus on these specifications to match the system to your property’s needs.
Resolution determines image clarity. 1080p (2 megapixels) is the baseline for identifying faces or license plates at distances up to 20 feet. 4K cameras (8 megapixels) capture finer detail at greater distances but require more storage space and bandwidth. For driveways or large yards, 4K helps, but 1080p suffices for doorways and porches.
Storage capacity impacts how much footage the system retains before overwriting old recordings. A 1TB hard drive stores roughly one to two weeks of continuous recording from four 1080p cameras, while a 2TB or 4TB drive extends that to a month or more. Some systems support cloud backup, but subscription fees add up, local storage avoids recurring costs.
Night vision range varies widely. Basic cameras offer 30 feet of infrared visibility, adequate for front porches. For monitoring driveways or side yards, look for 60 to 100 feet of IR range. Color night vision, which uses ambient light or built-in spotlights, provides better detail than traditional infrared but costs more.
Motion detection and alerts send notifications to your phone when activity is detected. Advanced systems allow custom motion zones, so you’re not alerted every time a car passes on the street. Look for adjustable sensitivity to reduce false alarms from pets or moving branches.
Remote viewing via smartphone app is standard in modern bundles, but ease of use varies. Check reviews for app reliability, some require port forwarding on your router, which can be a hassle for non-technical users. Systems with plug-and-play remote access simplify the process. Recent tests by independent reviewers highlight which bundles offer the smoothest mobile experience.
Audio capability (two-way or one-way) lets you hear what’s happening or speak through the camera. Useful for doorbell cameras or monitoring deliveries, but not essential for every location. Consider where you’d actually use this feature before paying extra for it.
How to Install Your Security Camera Bundle (DIY Guide)
Most bundles include everything needed for installation, but you’ll likely need a few additional tools and a couple of hours per camera.
Materials and Tools:
- Power drill with masonry and wood bits (if mounting to brick or siding)
- Ladder (tall enough to reach eaves or second-story mounts safely)
- Cable clips or staples for securing wired runs
- Screwdriver set (Phillips and flathead)
- Wire fish tape or coat hanger for pulling cables through walls
- Weatherproof silicone caulk for sealing outdoor cable entry points
- Safety glasses and work gloves
Step-by-Step Installation (Wired PoE System):
-
Plan camera placement. Walk your property and mark mounting points with painter’s tape. Cameras should cover entry doors, garage doors, and ground-floor windows. Mount cameras 7 to 9 feet high to avoid tampering but low enough to capture faces clearly. Angle them downward at roughly 15 to 30 degrees.
-
Mount the NVR. Place the recorder near your router for easy Ethernet connection and near a power outlet. Basements, utility closets, or media centers work well. Allow ventilation, stacking the NVR in a tight cabinet can cause overheating.
-
Run cables from NVR to camera locations. For exterior cameras, drill a ½-inch hole through the exterior wall near the planned mount. Fish the Cat5e or Cat6 cable from the NVR location (often through the basement or attic) to the camera. Leave an extra 2 to 3 feet of slack at the camera end for adjustments. Secure cables with clips every 12 to 18 inches to prevent sagging.
-
Mount cameras. Use the included mounting bracket and screws. For vinyl siding, screw directly into the sheathing or find a stud. For brick or stucco, use masonry anchors appropriate for the weight. Attach the camera to the bracket, then plug in the Ethernet cable. Most cameras have a pigtail connector that clicks into place.
-
Seal cable entry points. Apply a bead of silicone caulk around the cable where it enters the wall to prevent water infiltration. This step is critical for outdoor installations.
-
Connect the NVR. Plug the camera cables into the NVR’s PoE ports. Connect the NVR to your router via Ethernet and plug in the power supply. Power on the system.
-
Configure settings. Most systems auto-detect connected cameras. Use the included monitor connection (HDMI or VGA) or access the NVR via its app to set recording schedules, motion zones, and remote access. Follow the manufacturer’s setup wizard, usually a 10-minute process.
For wireless systems, skip the cable runs. Instead, mount cameras within Wi-Fi range, connect them to power (or install batteries), and pair them with the base station or app using the manufacturer’s instructions. Wireless setups take less time but require testing signal strength at each location before final mounting.
Permit considerations: In most jurisdictions, installing security cameras on your own property doesn’t require a permit. But, avoid aiming cameras at neighbors’ yards or public sidewalks where privacy laws may apply. Wired installations that involve running cables through walls generally don’t trigger electrical permits, but if you’re adding new outdoor electrical outlets for cameras, consult your local building department.
Maximizing Your Security System’s Effectiveness
Getting the cameras installed is only half the job. Proper setup and maintenance keep the system running reliably.
Adjust motion sensitivity and zones after the first few days. Out of the box, many systems trigger on every passing car or tree shadow. Use the app to draw motion zones around doors and walkways, excluding street traffic or areas with frequent movement. Reduce sensitivity if you’re getting dozens of false alerts daily.
Test night vision coverage after dark. Infrared LEDs reflect off glass, so don’t mount cameras behind windows. If a camera’s IR range doesn’t reach your driveway, consider adding a motion-activated floodlight to extend visibility.
Regularly check and clean camera lenses, especially on outdoor units. Dust, spider webs, and pollen blur footage. A quick wipe with a microfiber cloth every month or two keeps images sharp.
Review storage settings to balance retention and overwriting. Continuous recording captures everything but fills drives quickly. Motion-only recording conserves space but may miss events if sensitivity is set too low. Many users find a hybrid approach, continuous recording on front-door cameras, motion-only for side yards, works best.
Update firmware when the manufacturer releases patches. Security vulnerabilities get discovered regularly, and outdated systems become targets. Most modern bundles notify you of updates through the app.
Back up critical footage to a separate device or cloud service if you’re relying on a single hard drive. Hard drives fail, and if an intruder takes the NVR, your footage goes with it. Some homeowners place the NVR in a locked closet or basement area to reduce this risk.
With the right bundle and a methodical installation, homeowners can achieve professional-level security without the recurring costs of monitored services. The time invested upfront, usually a weekend for a four-camera system, pays off in long-term protection and peace of mind.