Table of Contents
ToggleRunning cable for security cameras isn’t glamorous work, but it’s the backbone of a reliable surveillance system. Wireless cameras might seem easier, but they come with bandwidth issues, battery maintenance, and signal dropouts that cable-connected systems simply don’t have. Whether installing analog cameras, modern IP systems, or a hybrid setup, choosing the right cable and running it correctly makes the difference between a system that works for a decade and one that needs troubleshooting every few months. This guide walks through cable types, selection criteria, and the actual installation process, no fluff, just what a homeowner needs to know before drilling that first hole.
Key Takeaways
- Security camera cable is the foundation of reliable surveillance systems, eliminating wireless bandwidth issues, battery maintenance, and signal dropouts that plague cordless alternatives.
- Cable type must match your camera system: coaxial or Siamese for analog cameras, Ethernet for IP cameras, and selecting the right security camera cable directly impacts video resolution and long-term system reliability.
- Outdoor installations require UV-resistant and weatherproof-rated cable (CMX or direct burial types), while indoor cable must meet local code requirements to avoid inspection failures during home sales or insurance claims.
- Measure cable runs carefully, add 20% extra length for obstacles and vertical drops, and invest in pure copper cable rather than cheaper copper-clad aluminum for permanent installations that last a decade.
- Proper termination and testing are critical: loose BNC or RJ45 connectors cause intermittent video and dropout, so use appropriate tools and verify each connection before securing the system.
What Is Security Camera Cable and Why Does It Matter?
Security camera cable is the physical wiring that transmits video signals and power from cameras to recording devices, monitors, or network equipment. Unlike wireless systems that rely on Wi-Fi, cabled systems provide consistent, interference-free connections that don’t compete with other devices for bandwidth.
The cable type determines compatibility with camera technology. Older analog systems use coaxial cable similar to traditional TV wiring. Modern IP (Internet Protocol) cameras require Ethernet cable to transmit digital video over a network. Some installations use Siamese cable, which bundles video and power lines into a single jacket for cleaner runs.
Cable quality directly impacts video resolution and system reliability. Cheap cable with inadequate shielding picks up electromagnetic interference from electrical lines, causing static or dropped frames. Undersized wire gauge can’t carry power over long distances, leading to voltage drop and camera malfunctions. Many wired systems praised in professional camera reviews rely on proper cabling to deliver their rated performance.
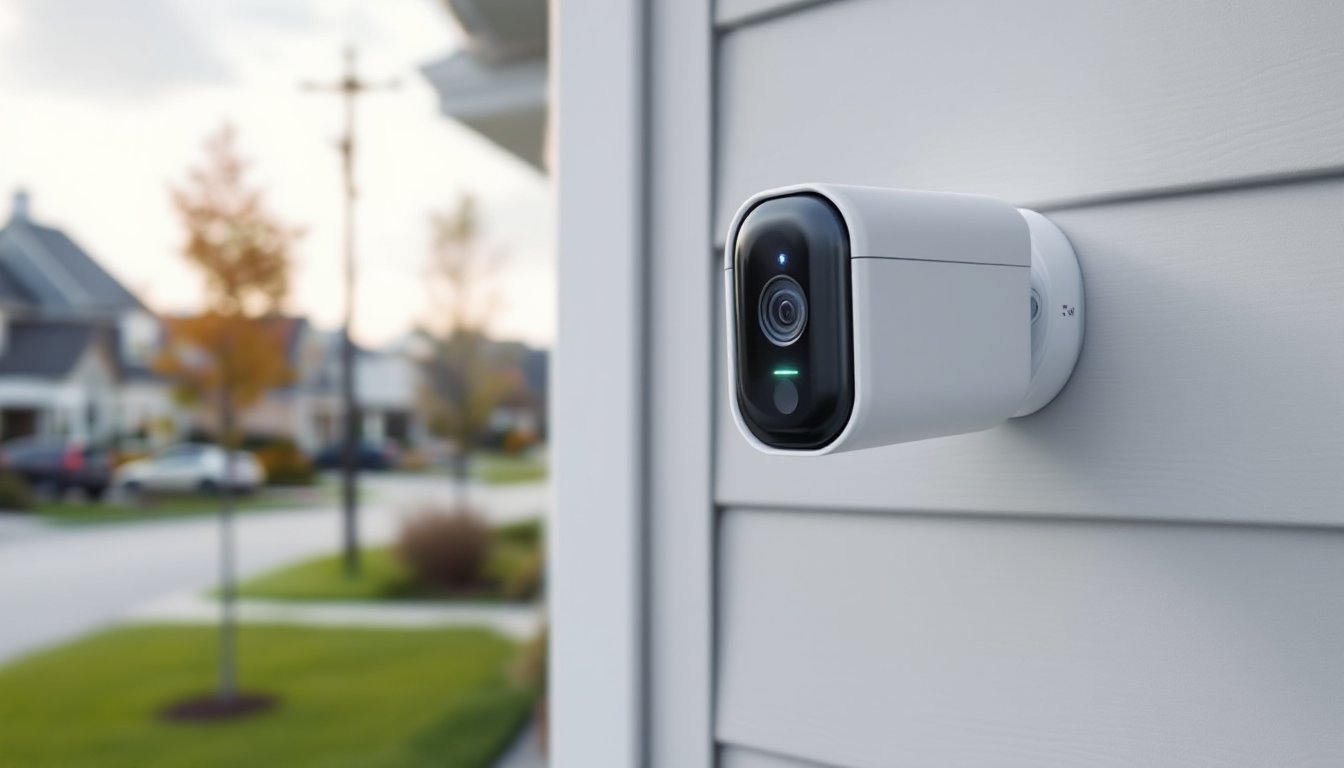
For outdoor installations, cable must resist UV exposure, moisture, and temperature swings. Indoor-rated cable (often marked CM or CMR) isn’t code-compliant for exterior walls or conduit exposed to weather. Outdoor-rated cable (CMX or direct burial types) includes waterproof jackets and often thicker insulation.
Cable runs longer than 100 feet for Ethernet or 300 feet for coaxial start losing signal quality without amplifiers or repeaters. Planning cable routes before buying spools prevents waste and ensures the system operates within spec.
Types of Security Camera Cables Explained
Coaxial Cable for Analog Cameras
RG59 coaxial cable is the standard for analog CCTV and HD-over-coax systems (AHD, TVI, CVI). It carries video signals from cameras to DVRs (digital video recorders) using a central copper conductor surrounded by insulation, braided shielding, and an outer jacket.
RG59 supports runs up to 300 feet without significant signal loss for standard-definition cameras, and up to 200 feet for 1080p HD-over-coax systems. Beyond that, signal boosters or switches to thicker RG6 cable (used for longer runs) are necessary. Coax terminates with BNC connectors, which twist-lock onto camera and DVR ports, crimp-on or compression types are both common, though compression fittings provide better weatherproofing.
Analog systems require separate power cables since coax only transmits video. That’s where Siamese cable (covered below) becomes useful. Coaxial cable is straightforward to terminate and troubleshoot, making it a solid choice for DIYers upgrading older systems or working with existing analog infrastructure.
Ethernet Cable for IP Cameras
Cat5e and Cat6 Ethernet cable power modern IP camera systems. These cables transmit both data and power using PoE (Power over Ethernet) technology, eliminating the need for separate electrical runs. Cat5e handles up to 1 Gbps and works fine for most residential cameras. Cat6 supports higher bandwidth (up to 10 Gbps over short runs) and has better crosstalk resistance, making it a better choice for 4K cameras or future-proofing.
Ethernet runs are limited to 328 feet (100 meters) before signal degradation occurs. Beyond that distance, install a PoE switch or extender. Cable is available in solid copper (preferred for permanent in-wall runs) or stranded copper (more flexible, used for patch cables). Solid core performs better over long distances and terminates cleanly into keystone jacks or punch-down blocks.
Outdoor installations need direct burial or UV-rated Cat6. Standard indoor cable degrades quickly under sun exposure. Shielded versions (STP) reduce interference near electrical conduits, though most residential settings work fine with unshielded (UTP). Ethernet cables terminate with RJ45 connectors, which require either crimping or punch-down into jacks. Crimping is faster but less reliable than terminating into jacks mounted in wall plates or patch panels.
Many of the systems highlighted in top wired camera guides use Cat6 for maximum compatibility and performance.
Siamese Cable for Combined Power and Video
Siamese cable bundles two conductors under one jacket: coaxial for video and 18/2 low-voltage wire for power. This combination simplifies analog camera installations by reducing the number of cable runs through walls and attics. The video side terminates in BNC, while the power side connects to a 12V DC transformer and camera power input.
Siamese cable is sold in spools of 500 or 1,000 feet, typically with both cables bonded or joined by a thin web of jacketing. The cables can be separated at termination points with a utility knife. Standard Siamese uses RG59 coax: some versions upgrade to RG6 for longer runs.
The 18-gauge power wire is rated for low-voltage applications (12V DC or 24V AC) and handles most bullet or dome cameras drawing under 2 amps. For higher-draw cameras (especially those with IR illuminators or PTZ motors), verify the wire gauge supports the amperage over the planned distance, voltage drop calculators are available online and account for wire gauge, length, and load.
Siamese cable simplifies pulling cable through tight spaces and reduces clutter at termination points. It’s the go-to for retrofitting analog systems into existing homes without rewiring for Ethernet infrastructure.
How to Choose the Right Cable for Your Security System
Start by identifying camera type: analog or IP. Analog cameras (including HD-over-coax) require coaxial or Siamese cable. IP cameras need Ethernet. Mixing cable types with incompatible cameras won’t work, coax can’t carry network data, and Ethernet can’t transmit analog video.
Measure the longest cable run from camera location to recorder or network switch, then add 20% for vertical drops, routing around obstacles, and termination slack. A straight-line 80-foot measurement often becomes a 100-foot cable pull once walls, ceilings, and corners are factored in. Buy cable in bulk spools rather than pre-terminated lengths for custom installations, it’s cheaper and allows exact length cuts.
For outdoor cameras, use direct burial or outdoor-rated cable with UV-resistant jackets. Running indoor cable through exterior conduit doesn’t meet most local codes if the conduit isn’t completely sealed and weatherproof. Conduit adds protection from physical damage (lawnmowers, animals, accidental impact) and makes future cable replacement easier.
Copper-clad aluminum (CCA) cable is cheaper than pure copper but has higher resistance, shorter lifespan, and lower performance. For permanent installations, spend the extra 20-30% on pure copper cable, it’s worth it. Check the cable jacket or product specs: legitimate cable lists material composition.
Consider future expansion. Installing an extra home-run cable to key locations (front door, driveway, backyard) during initial setup costs little in labor but saves tearing open walls later. Similarly, using Cat6 instead of Cat5e future-proofs for higher-resolution cameras.
Verify local code requirements for low-voltage wiring. Some jurisdictions require conduit for all exterior runs or plenum-rated cable (CMP) in HVAC spaces where air circulates. Non-compliance can fail inspections during home sales or insurance claims after incidents. When in doubt, call the local building department, most have handouts or can point to the relevant IRC (International Residential Code) sections.
Installing Security Camera Cable: A DIY Step-by-Step Guide
Tools and Materials:
- Security camera cable (coax, Ethernet, or Siamese)
- Fish tape or pull string
- Cable staples (insulated, for wood framing)
- Drill with long bits (⅜” or ½” spade or auger bits for wood, ¾” for exterior walls)
- Wire strippers and crimping tool (for BNC or RJ45 connectors)
- Voltage tester (to avoid drilling into live electrical wires)
- Ladder, flashlight, and dust mask
- Cable lubricant (for long conduit pulls)
- Safety gear: safety glasses, gloves, dust mask, ear protection
Step 1: Plan the Route
Map cable paths from each camera to the recorder or PoE switch. Avoid running parallel to electrical wiring for more than a few feet, maintain at least 6 inches separation to reduce interference. Use attics, crawlspaces, or basements for horizontal runs whenever possible. External walls may require drilling through top plates or sill plates: know where these structural members sit before drilling.
Step 2: Drill Entry and Exit Holes
Drill from the inside out to control bit direction and avoid siding damage. For exterior cameras, angle the hole slightly downward to prevent water intrusion. Use a 1-inch hole for single cables, larger for multiple runs. Seal exterior holes with silicone caulk or foam after cable installation.
If drilling through fire-rated walls (common between garage and living spaces), use fire-stop putty or caulk around cables to maintain the fire rating. This is code in most jurisdictions and critical for safety.
Step 3: Pull the Cable
Attach cable to fish tape with electrical tape, wrapping smoothly to avoid snags. Pull steadily, yanking can damage internal conductors or separate Siamese cable pairs. For long or complex runs, a helper feeding cable from the spool prevents kinks. Leave 12-18 inches of slack at each end for terminations and future adjustments.
Secure cable every 4-6 feet along framing with insulated staples. Don’t overdrive staples, compressing the cable damages shielding and conductors. In conduit, use pulling lubricant for runs over 50 feet or those with multiple bends.
Step 4: Terminate Connections
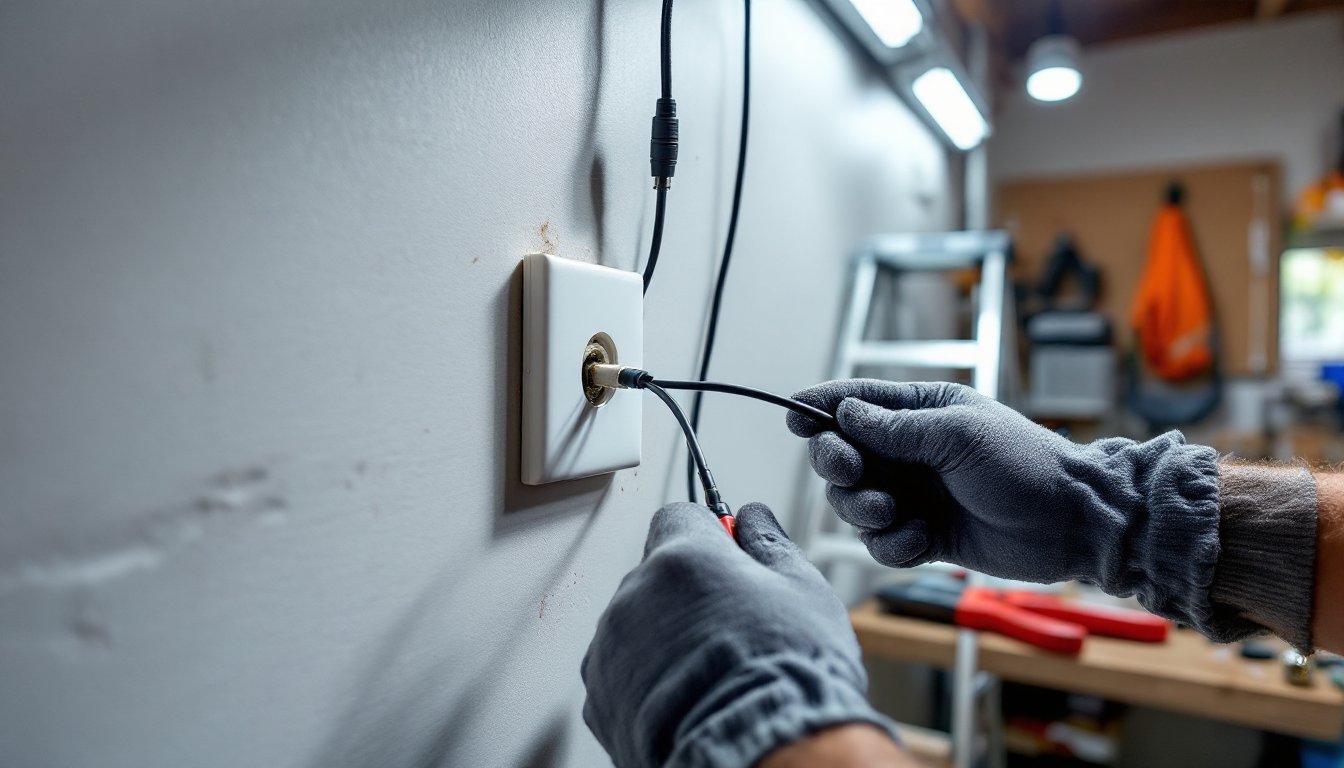
For BNC connectors on coax: strip ¼” of outer jacket, fold back the braided shield, strip ⅛” of inner insulation, and crimp or compress the connector. Test the connection, loose BNC fittings cause intermittent video.
For RJ45 on Ethernet: strip 1″ of jacket, untwist pairs minimally, arrange wires in T568B order (standard for most IP cameras), trim to ½”, and crimp. Test with a cable tester or plug into a PoE injector to verify link lights. Poorly terminated Ethernet causes packet loss or no connection.
For Siamese power wires: strip ¼” of insulation, connect to 12V DC power supply (red to positive, black to negative), and secure with wire nuts or terminal blocks. Polarity matters, reversed connections can damage cameras.
Step 5: Test and Secure
Power up the system and verify each camera’s video feed and functionality. Check for interference, flickering, or dropout. Secure any loose cable with additional staples or conduit straps. Label cables at the recorder end, future troubleshooting is much faster with clear identification.
For systems emphasizing reliable wired connections, proper installation ensures the hardware delivers its full potential. Finish by sealing all penetrations and cleaning up debris.
When to Call a Pro:
If the installation requires running cable through finished ceilings, complex conduit bends, or walls with unknown obstructions (older homes with diagonal bracing), consider hiring a low-voltage installer. Fishing cable through insulated walls without damaging vapor barriers or existing wiring is tricky. Similarly, if local code requires permits for low-voltage work or the system integrates with a monitored alarm panel, professional installation may be required for warranty and insurance purposes.