Table of Contents
ToggleUpgrading home security used to mean calling in a contractor and dealing with a tangle of coax cables. Now, IP-based camera systems and network video recorders (NVRs) let homeowners build professional-grade surveillance setups with nothing more than Ethernet cables and a weekend afternoon. But not all NVRs are created equal, choosing the wrong one can leave you with compatibility headaches, maxed-out storage, or footage that looks like it was shot through a screen door. This guide walks through what an NVR actually does, how it stacks up against older DVR systems, and what features matter most when you’re ready to buy and install one yourself.
Key Takeaways
- A security camera NVR uses Ethernet cables to receive and store digital video from IP cameras, with built-in Power over Ethernet (PoE) simplifying installation by delivering both data and power through a single cable.
- NVRs offer superior image quality, easier scalability, and cleaner wiring compared to older DVR systems, making them the better choice for new security camera installations despite slightly higher upfront costs.
- Storage capacity depends on camera count, resolution, and retention period—a 4-camera 1080p system typically needs 2TB to 4TB, while 4K systems require significantly more space to maintain adequate footage history.
- Channel count should match your current camera needs plus planned expansion (4, 8, or 16-channel options are standard), and verify ONVIF protocol support to ensure compatibility with third-party or future cameras.
- DIY installation involves planning camera locations, running Cat6 cables to a central NVR location, mounting cameras, configuring the system on your local network, and formatting surveillance-rated hard drives—a weekend project for homeowners with basic technical skills.
What Is an NVR and How Does It Work?
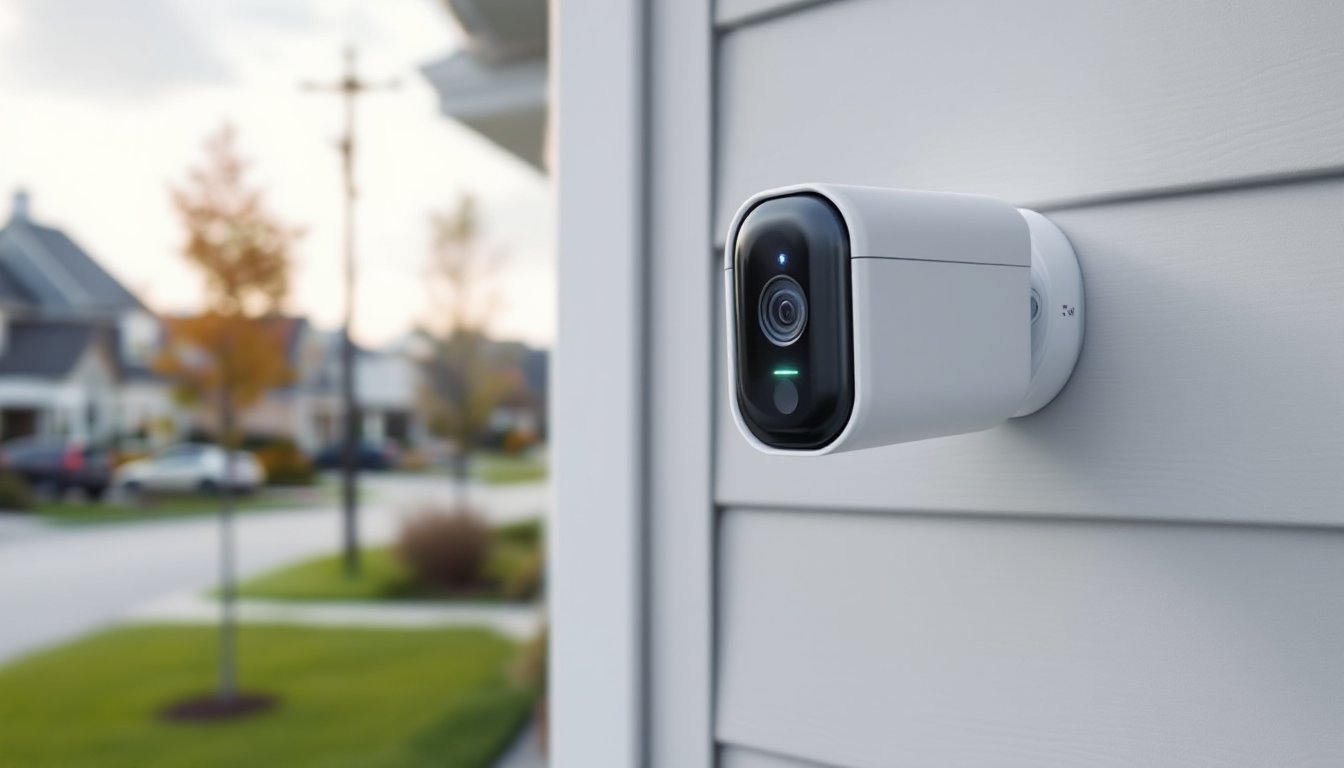
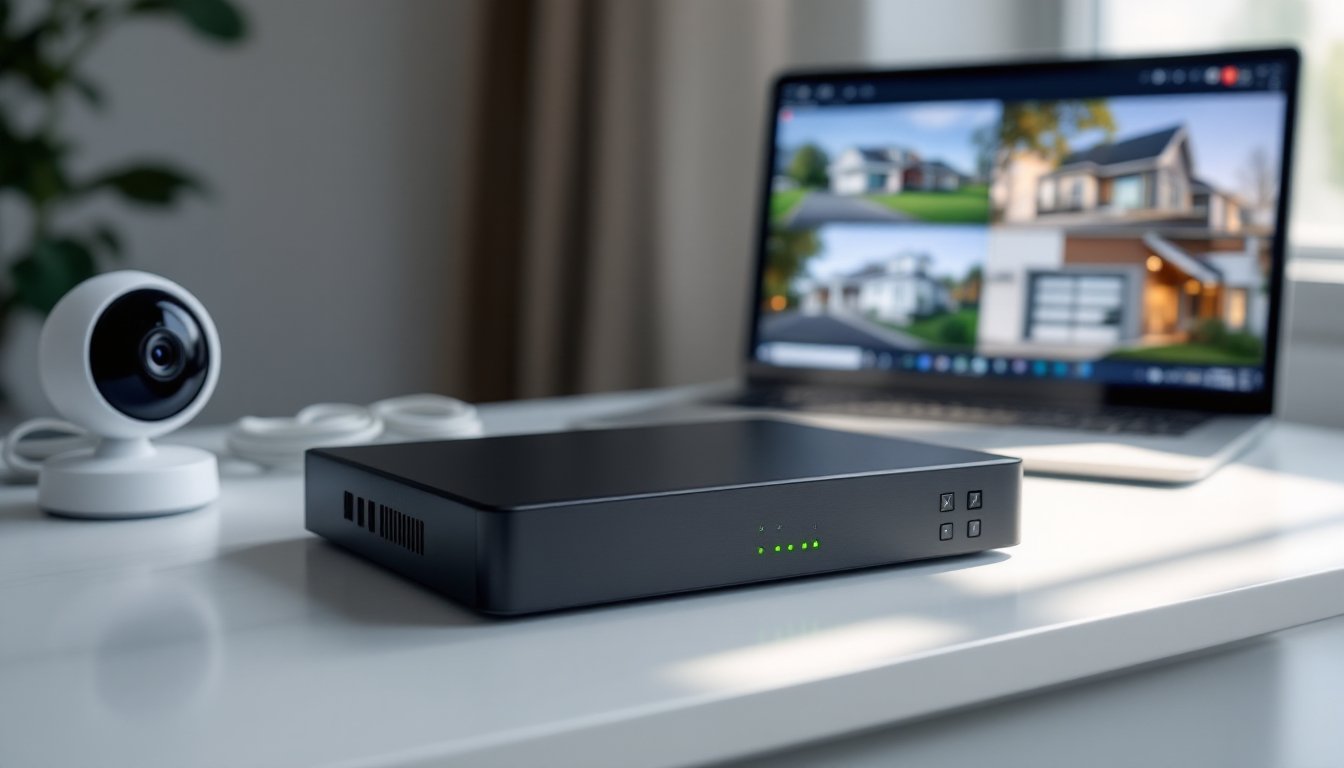
A network video recorder (NVR) is a specialized computer that records and stores video footage from IP cameras over a local network. Unlike analog systems, which send raw video through coaxial cable, NVR systems use Ethernet cables (Cat5e or Cat6) to transmit digital video data from each camera to the recorder.
Here’s the basic workflow: IP cameras capture video, encode it into a digital format (usually H.264 or H.265 compression), and send it over the network to the NVR. The NVR receives these streams, stores them on an internal hard drive, and provides playback, remote viewing, and management through software or a mobile app. Most NVRs include a built-in Power over Ethernet (PoE) switch, which delivers both data and power to cameras through a single cable, eliminating the need for separate power supplies at each camera location.
Because the cameras handle the video processing, NVRs don’t need heavy-duty encoding hardware. They’re essentially network-attached storage units with security-focused software. This setup offers better image quality (many support 4K resolution), easier scalability, and simplified wiring compared to older analog systems. For a DIYer, that means fewer cables to run, fewer power outlets to locate near cameras, and a cleaner finished install.
NVR vs. DVR: Understanding the Key Differences
If you’re comparing security systems, you’ll run into both NVRs and DVRs (digital video recorders). They both record video, but they’re built for fundamentally different camera types and wiring schemes.
DVRs work with analog cameras (typically using coaxial cable like RG59). The cameras send raw, unprocessed video to the DVR, which does all the encoding and compression. DVRs are cheaper upfront and work well for basic setups, but they’re limited to lower resolutions (1080p is typical max), require dedicated coax runs, and need separate power cables at every camera.
NVRs pair with IP cameras over Ethernet. The cameras themselves handle encoding, so the NVR just manages storage and playback. This approach supports higher resolutions (4K and beyond), PoE for simplified wiring, and easier network integration for remote viewing. Installation is generally cleaner, one Cat6 cable per camera instead of two separate runs.
For new installs, NVRs are the better choice. Cat6 cable is easier to work with than coax, the image quality ceiling is higher, and you’re future-proofing the system. DVRs make sense if you’re retrofitting an existing analog camera setup or working with a very tight budget. But if you’re pulling cable from scratch, go NVR. The upfront cost difference is marginal, and the flexibility pays off long-term.
Essential Features to Look for in a Security Camera NVR
Not all NVRs offer the same capabilities. Here’s what to prioritize when comparing models.
Storage Capacity and Hard Drive Options
Storage needs depend on three things: number of cameras, resolution, and how long you want to retain footage. A 4-camera system recording at 1080p with moderate motion might use 1TB for two weeks of continuous recording. Bump that to 4K resolution, and you’ll fill 1TB in under a week.
Most NVRs ship without hard drives or with minimal capacity. Look for units that support at least 2TB to 4TB for typical residential setups. NVRs designed for surveillance use NAS-rated or surveillance-grade drives (like Western Digital Purple or Seagate SkyHawk), which are built for 24/7 operation and handle constant read/write cycles better than standard desktop drives.
Some NVRs support multiple drive bays. If you’re planning a larger system or want RAID redundancy (where one drive can fail without losing footage), a two-bay or four-bay NVR is worth the investment. When selecting storage, NVR systems for 2024 often include pre-configured storage or list compatible drive specs, check those before buying.
Key specs to check:
- Maximum storage capacity (some NVRs cap at 6TB or 8TB total)
- Number of drive bays
- Support for RAID configurations
- Whether drives are included or sold separately
Channel Count and Camera Compatibility
Channel count is how many cameras the NVR can handle simultaneously. Common options are 4-channel, 8-channel, and 16-channel units. Buy based on current needs plus planned expansion, if you’re installing four cameras now but might add two more later, get an 8-channel NVR. The cost difference is usually minimal.
Camera compatibility is less straightforward. Most IP cameras use ONVIF (Open Network Video Interface Forum) protocol, which is supposed to ensure cross-brand compatibility. In practice, proprietary features (motion zones, advanced analytics, PTZ control) may not work unless you stick with the same manufacturer for cameras and NVR.
If you’re buying a complete kit, compatibility is a non-issue. If you’re mixing brands or adding cameras later, confirm ONVIF support and check the NVR’s compatibility list. Some units work seamlessly with third-party cameras: others are fussy about firmware versions or codec support.
Other features worth checking:
- PoE wattage per port: Standard PoE delivers 15.4W (802.3af): PoE+ delivers 25.5W (802.3at). PTZ cameras and units with built-in heaters or spotlights need PoE+.
- Resolution support: If you’re using 4K cameras, make sure the NVR supports 4K recording on all channels simultaneously (some downgrade to 1080p when all channels are active).
- Remote access: Most NVRs offer mobile apps and cloud-based viewing. Some require subscriptions for cloud storage or advanced features.
- Video compression: H.265 (HEVC) cuts file sizes roughly in half compared to H.264 without sacrificing quality, important for managing storage costs.
Reviews of top NVR kits for 2024 often break down these specs by use case, which can help narrow your options.
Setting Up Your NVR System: A DIY Installation Overview
Installing an NVR system is well within DIY territory if you’re comfortable running cable and doing basic network setup. Here’s the general process.
1. Plan camera locations and cable runs
Sketch out camera placements. Cameras should cover entry points (doors, garage), high-traffic areas, and blind spots. Mark where cables will run, through attics, crawl spaces, or along exterior walls. Measure runs and add 10-15% for slack and routing around obstacles. Cat6 cable is the current standard: it supports speeds up to 10Gbps and is fine for PoE applications. Max run length is 328 feet (100 meters) per segment.
2. Run the cables
Drill holes for camera mounts and route cables back to the NVR location. If you’re running cable through walls, use a fish tape or pull string and keep runs away from electrical wiring to avoid interference. Seal exterior penetrations with silicone caulk or weatherproof grommets. Label each cable at both ends, you’ll thank yourself during hookup.
3. Mount cameras and connect to the NVR
Secure cameras to mounting surfaces (brick, siding, soffit) using the included hardware. For masonry, use anchors rated for the camera weight (most cameras weigh under 2 lbs, but wind load matters for exterior mounts). Plug camera cables into the NVR’s PoE switch ports. Many NVRs auto-detect cameras and assign IP addresses via DHCP.
4. Configure the NVR
Connect the NVR to your router via Ethernet and to a monitor via HDMI. Follow the on-screen setup to create an admin password, set recording schedules (continuous, motion-only, or scheduled), configure motion zones, and adjust resolution/frame rate. Enable remote access if you want to view cameras from your phone. Some NVRs require port forwarding on your router: others use cloud relays (check the manual).
5. Install and format storage drives
If your NVR didn’t ship with drives, power it down, install the hard drives in the internal bays, and power back up. The NVR will prompt you to format the drives, this erases all data and preps them for surveillance recording.
Safety and code notes:
- Wear safety glasses when drilling overhead or into masonry.
- If running cable through insulation, avoid compressing it heavily, this can reduce thermal performance.
- Most residential security camera installs don’t require permits, but if you’re running new low-voltage wiring inside walls, check local codes. Some jurisdictions require low-voltage work to be done by licensed electricians.
- Use a voltage tester if drilling near existing electrical boxes to avoid accidental contact with live wires.
For homeowners comparing options, current NVR security camera systems often include detailed setup guides and customer support, which can smooth out first-time installs.
Conclusion
NVR systems offer a solid middle ground between plug-and-play wireless cameras and professionally installed setups. With the right hardware and a weekend to run cable, most homeowners can build a reliable, high-resolution surveillance system that scales as needs change. Focus on storage capacity, channel count, and compatibility, and don’t skip the prep work when running cable.